This no-bake peanut butter cheesecake is a lifeline on hectic days when I want something rich and satisfying without the fuss of oven time. It comes together so quickly, I can almost feel the stress melting away as I mix the smooth, nutty filling. Plus, it’s perfect for those last-minute get-togethers when everyone needs a sweet fix, but I haven’t planned ahead.
What I really love is that it’s a dessert that feels indulgent but is surprisingly simple. No baking, no fussing over crusts that crumble, just a creamy, peanutty dream that chills in the fridge. It’s become my go-to when I crave a treat that’s both satisfying and fuss-free, especially during busy weekends or when friends drop by unexpectedly.
Focusing on how this no-bake peanut butter cheesecake offers a quick, satisfying dessert that’s perfect for last-minute gatherings or when I need comfort without turning on the oven.
Last-Minute Comfort
- This dessert reminds me of lazy summer afternoons spent with friends, sharing sweet bites and laughter.
- I love how it feels decadent yet effortless, perfect for when I want something sweet without the oven heat.
- There’s a nostalgic rush when I taste that creamy peanut butter flavor, like childhood days in the kitchen.
- Sometimes, I make this on chaotic weeknights, and it somehow makes everything feel calmer and more manageable.
- Finishing a slice and seeing that crumbly, peanut-streaked crust—it’s a small victory I savor every time.
The story behind this recipe
- This recipe came together one chaotic afternoon when I realized I needed a dessert fast, but wanted it to feel special. I remembered a peanut butter pie I once made, but didn’t want to turn on the oven or fuss with crusts. So I started experimenting with a no-bake version, and it turned into something I actually crave now during busy weekends.
- The idea of a creamy, peanutty cheesecake that chills in the fridge rather than bakes in the oven just clicked. It’s the kind of recipe that feels like a tiny victory—quick, satisfying, and adaptable. Now, whenever I need an easy dessert that still feels indulgent, this is what I make, no second thoughts.
- heading
- story_type
Trivia and Historical Notes
- This recipe has roots in 1950s no-bake desserts, where convenience became key in post-war kitchens.
- Peanut butter, originally a 19th-century health food, found its way into countless desserts, including this cheesecake, for its rich, creamy texture.
- No bake cheesecakes surged in popularity during the 1970s as home cooks sought simpler, quicker dessert options without sacrificing flavor.
Key Ingredients Breakdown
- Cream cheese: I love how softened cream cheese blends into the filling, creating that smooth, velvety texture. Make sure it’s at room temp so it whips up without lumps, or you’ll end up with a gritty finish.
- Peanut butter: I prefer creamy, slightly salty peanut butter, which adds richness and a nutty punch. For a deeper flavor, try stirring in a tiny pinch of sea salt or honey, and watch it ooze with flavor.
- Heavy cream: Whisking this until fluffy gives the cheesecake a light, airy feel. For a less rich version, you can use Greek yogurt, but it’ll change the creaminess and sweetness.
- Sugar: I use powdered sugar for smoothness, but a touch of brown sugar adds a caramel hint. Adjust to taste, especially if your peanut butter is already sweet.
- Graham cracker crust: I crush the crackers finely and mix with melted butter until it feels like damp sand. For a crunchier crust, let it chill longer, or sprinkle a handful of chopped peanuts on top before chilling.
- Optional toppings: Chopped peanuts or chocolate drizzle add texture and contrast. I love a sprinkle of flaky sea salt on top just before serving—brings out the peanut flavor.
- Lemon juice: Just a splash brightens the flavor and cuts through the richness. If you don’t have fresh lemon, a dash of vinegar can give a similar zing, though less bright.
Spotlight on Key Ingredients
Cream cheese:
- I love how softened cream cheese blends into the filling, creating that smooth, velvety texture. Make sure it’s at room temp so it whips up without lumps, or you’ll end up with a gritty finish.
- Peanut butter: I prefer creamy, slightly salty peanut butter, which adds richness and a nutty punch. For a deeper flavor, try stirring in a tiny pinch of sea salt or honey, and watch it ooze with flavor.
Peanut butter:
- I prefer creamy, slightly salty peanut butter, which adds richness and a nutty punch. For a deeper flavor, try stirring in a tiny pinch of sea salt or honey, and watch it ooze with flavor.
- Heavy cream: Whisking this until fluffy gives the cheesecake a light, airy feel. For a less rich version, you can use Greek yogurt, but it’ll change the creaminess and sweetness.
Notes for ingredient swaps
- Dairy-Free: Use coconut cream or cashew cream instead of cream cheese for a dairy-free version. It will be slightly different in texture but still creamy and rich.
- Sugar Alternatives: Swap granulated or powdered sugar with honey, maple syrup, or agave nectar. Expect a slightly different sweetness profile and a bit of moisture.
- Peanut Butter: Natural, no-stir peanut butter works best, but if you only have processed, smooth peanut butter, it’s still fine. For a nutty crunch, try almond or cashew butter.
- Crust Base: Replace graham crackers with digestive biscuits or crushed cookies. For gluten-free, try crushed gluten-free cookies or pretzels for a salty contrast.
- Flavor Boost: Add a splash of vanilla extract or a sprinkle of cinnamon to the filling for extra depth. Skip if you prefer a purer peanut flavor.
- Toppings: Use chopped almonds, pretzels, or chocolate chips instead of peanuts. For a fruity twist, scatter fresh berries or a berry compote.
- Lemon Juice: Swap lemon juice with lime juice or apple cider vinegar for a slightly different tang. Fresh citrus brightens the richness effectively.
Equipment & Tools
- springform pan: Shape and hold the crust and filling; easy to remove the cheesecake.
- mixing bowls: Combine ingredients thoroughly and fold whipped cream.
- spatula: Smooth the crust and fill, fold ingredients gently.
- small saucepan: Melt butter for the crust evenly.
Step-by-step guide to no-bake cheesecake
- Gather your equipment: a 20cm (8-inch) springform pan, mixing bowls, spatula, and a small saucepan for melting butter.
- Crush the graham crackers finely using a zip-top bag and rolling pin or a food processor. Mix with melted butter until the mixture resembles damp sand.
- Press the crumb mixture evenly into the bottom of the springform pan. Use the back of a spoon to smooth it out. Chill in the fridge for 15 minutes.
- In a mixing bowl, beat the softened cream cheese with a spatula or hand mixer until smooth and creamy, about 2 minutes. Scrape down the sides frequently.
- Add peanut butter to the cream cheese. Mix until fully incorporated, about 1 minute. The mixture should be smooth and slightly fluffy.
- Pour in the powdered sugar and a splash of lemon juice. Mix until well combined, ensuring no lumps remain. The filling should be thick but spreadable.
- In a separate bowl, whip the heavy cream until stiff peaks form, about 3-4 minutes. Be careful not to over-whip or it’ll turn buttery.
- Gently fold the whipped cream into the peanut butter mixture. Use a spatula to incorporate, maintaining the airy texture. Do this in stages to keep it light.
- Spoon the filling over the chilled crust. Use the spatula to spread evenly, smoothing the top. Cover with plastic wrap and refrigerate for at least 4 hours, preferably overnight.
- Before serving, sprinkle chopped peanuts or drizzle chocolate on top if desired. Let sit at room temperature for 10 minutes for the best flavor and texture.
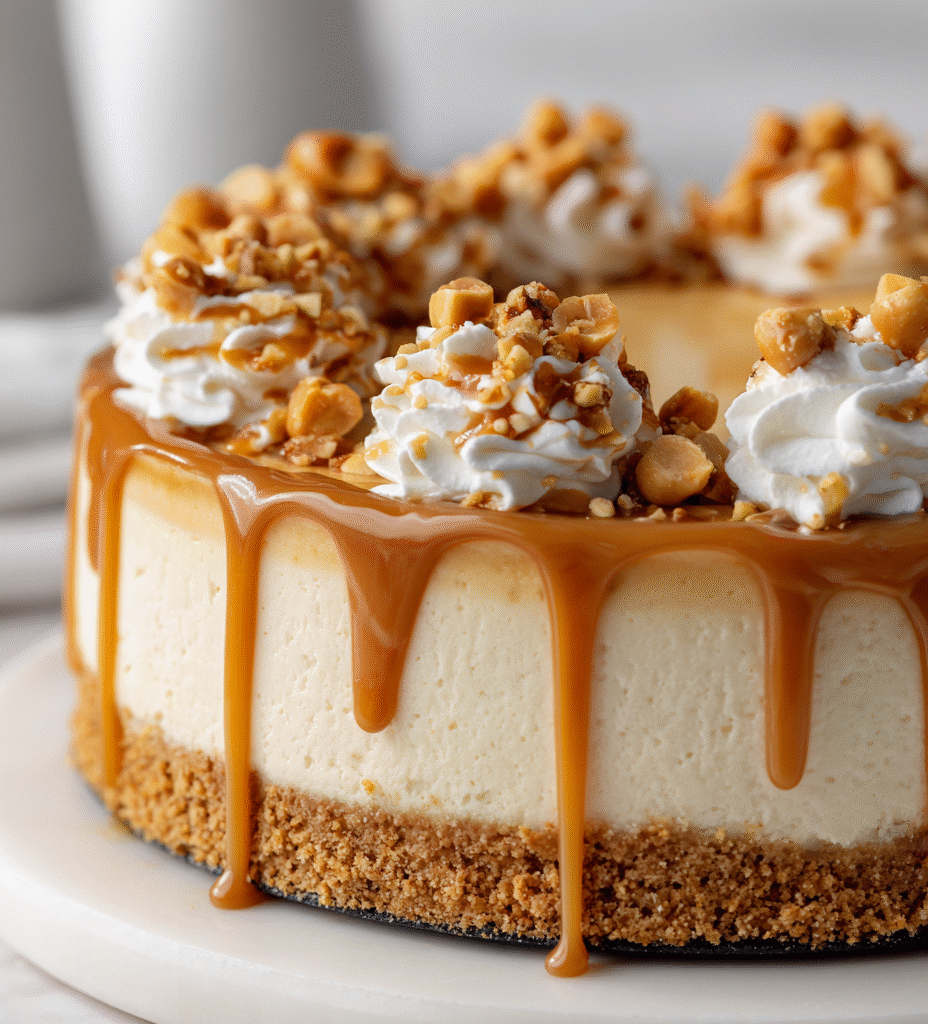
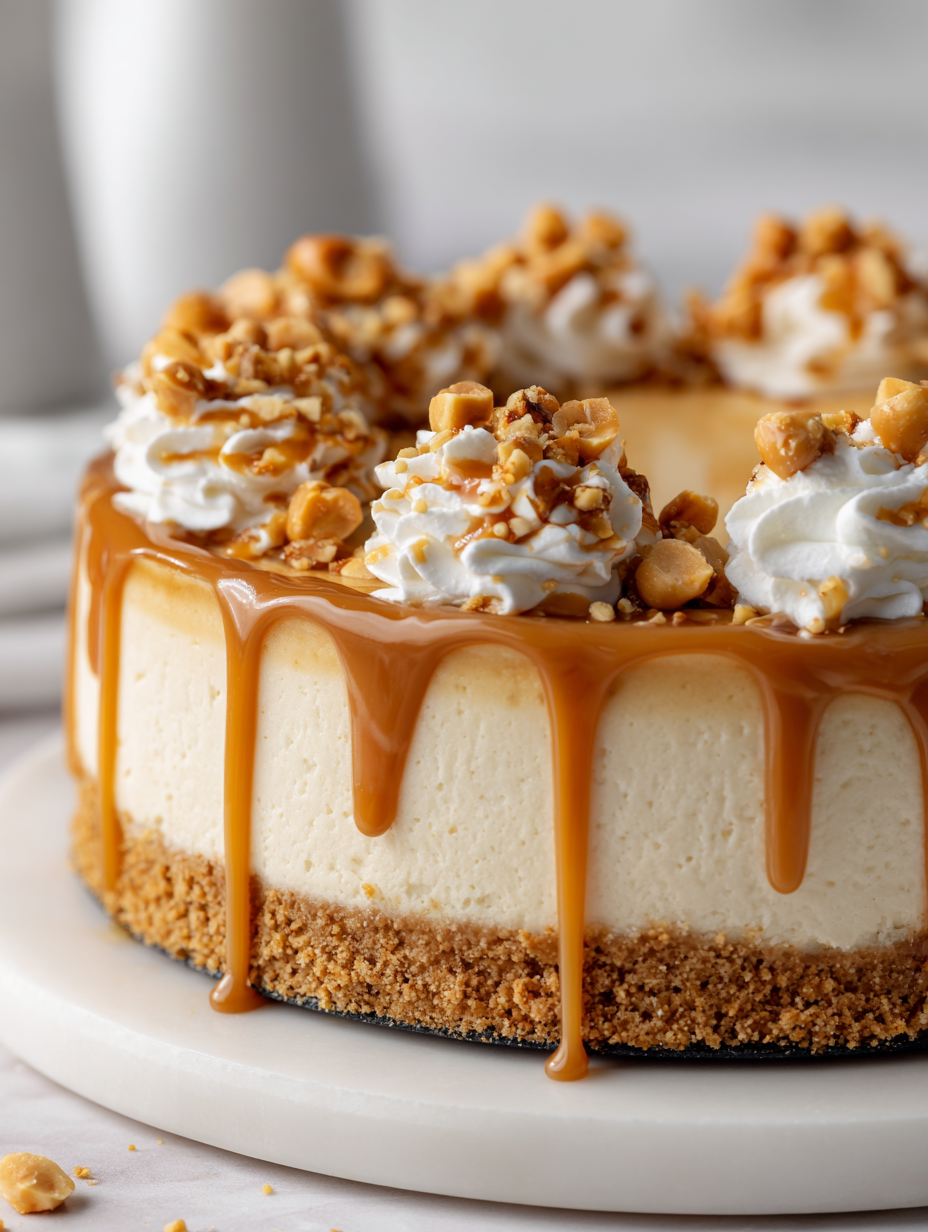
Chill the cheesecake for at least 4 hours or overnight. Before serving, add toppings like chopped peanuts or chocolate drizzle for flavor contrast and visual appeal.
How to Know It’s Done
- Crust is firm and holds shape when pressed; no crumbling.
- Filling is smooth, no lumps, and has a slight jiggle when gently shaken.
- Top is set and slightly firm to touch, not sticky or runny.
No-Bake Peanut Butter Cheesecake
Ingredients
Equipment
Method
- Mix the graham cracker crumbs with melted butter in a small bowl until the crumbs feel like damp sand. Press this mixture evenly into the bottom of a springform pan to form a crust. Chill in the fridge for 15 minutes to set.
- Use a spatula to beat the softened cream cheese in a large bowl until smooth and creamy, about 2 minutes. Add the peanut butter and continue mixing until fully combined and fluffy.
- Stir in the sifted powdered sugar and lemon juice, mixing until the filling is thick, smooth, and uniform in color.
- In a separate bowl, whip the chilled heavy cream with a hand or stand mixer until stiff peaks form, about 3-4 minutes. Be careful not to over-whip.
- Gently fold the whipped cream into the peanut butter mixture with a spatula until just combined, maintaining the airy texture of the filling.
- Spoon the peanut butter filling over the chilled crust, spreading it evenly with a spatula. Cover with plastic wrap and refrigerate for at least 4 hours or overnight to set.
- Once set, remove the cheesecake from the fridge. If desired, sprinkle chopped peanuts or drizzle chocolate on top for extra texture and visual appeal.
- Slice with a sharp knife, serve chilled, and enjoy this creamy, indulgent treat that’s perfect for last-minute gatherings or comforting weekends.
Pro tips for perfect cheesecake
- Bolded mini-head: Chill your cream cheese thoroughly before mixing to prevent lumps and achieve a silky texture.
- Bolded mini-head: Use room temperature ingredients; this ensures smooth blending and avoids a grainy filling.
- Bolded mini-head: Fold whipped cream gently into the peanut butter mixture to maintain an airy, light consistency.
- Bolded mini-head: Press the crust firmly with a spatula or the back of a spoon to prevent crumbling when slicing.
- Bolded mini-head: Chill the assembled cheesecake for at least 4 hours, or overnight, for the best set and flavor melding.
- Bolded mini-head: Add toppings just before serving to keep them fresh and crisp, especially chopped nuts or chocolate drizzle.
- Bolded mini-head: If the filling feels too thick to spread smoothly, gently warm it in the microwave for a few seconds to loosen.
Common mistakes and how to fix them
- FORGOT to chill crust → Chill for 15 minutes before filling.
- DUMPED filling too quickly → Fold gently to keep it light and airy.
- OVER-TORCHED topping → Add toppings just before serving, avoid exposing to heat.
- SKIPPED room temp ingredients → Ensure cream cheese and cream are soft for smooth mixing.
Quick Fixes & Pantry Swaps
- When filling is too runny, splash in a bit more crushed cookies to thicken.
- If crust crumbles, patch with a little melted butter and press firmly again.
- Splash cold water on a hot topping to shimmer and set quickly.
- Patch cracks by gently smoothing with a warm spatula or offset knife.
- When cheesecake won’t set, rescue with an extra hour in the fridge and a gentle jiggle test.
Prep, store, and reheat tips
- Prepare the crust and press it into the pan up to a day ahead. Keep covered in the fridge to maintain freshness.
- Assemble the filling and refrigerate it for up to 24 hours before spreading on the crust. It firms up slightly, making spreading easier.
- Store the assembled cheesecake, covered tightly, in the fridge for up to 3 days. The flavors meld and the texture stays creamy.
- Reheat slices gently in the microwave for a few seconds if you prefer it slightly softer, aiming for a warm peanut aroma without melting the topping.
- For best sensory experience, serve chilled but not ice-cold; let sit at room temp for 10 minutes to enhance flavor and texture.
Top questions about peanut butter cheesecake
1. Can I use crunchy peanut butter?
Use natural or processed peanut butter; both work but taste slightly different. Natural is oozier, processed is smoother.
2. Can I make this without cream cheese?
Yes, but expect some texture. It adds crunch and contrast, making each bite more interesting.
3. What if I don’t have heavy cream?
You can substitute with Greek yogurt or mascarpone, but the texture and flavor will change slightly.
4. Is there a dairy-free option?
Use coconut cream or chilled evaporated milk for a dairy-free, creamy alternative that still whips well.
5. Can I use a different crust?
Yes, you can swap graham crackers for gluten-free cookies or crushed pretzels for a salty crunch.
6. How do I brighten the flavor?
Add a splash of lemon juice or vinegar to brighten the flavor, especially if the peanut butter is very rich.
7. How long should I chill it?
Chill the cheesecake for at least 4 hours or overnight. It firms up and develops better flavor the longer it sits.
8. My filling is too thick, what do I do?
If the filling is too thick to spread, gently warm it for a few seconds in the microwave to loosen it up.
9. Can I add toppings?
Yes, adding chopped peanuts or chocolate chips on top just before serving adds texture and visual appeal.
10. How do I fix cracks or imperfections?
Use a hot, damp towel to smooth out minor cracks or imperfections before serving for a cleaner look.
This no-bake peanut butter cheesecake isn’t just a quick fix; it’s a little moment of indulgence that I keep coming back to. Its rich, nutty flavor and creamy texture remind me that sometimes, simplicity is the best kind of comfort. It’s perfect for when I want a dessert that feels special without the fuss.
Whenever I make this, I’m reminded how satisfying it is to keep things straightforward and honest in the kitchen. No ovens, no complicated steps—just a straightforward recipe that hits the sweet spot every time, especially when I need something reliable and comforting in a flash.

Hi, I’m Ruby Thorn, the home cook behind The Tender Mess. Join me on the journey of Embracing the mess, fearlessly create —because in the kitchen, the mess sometimes leads to magic.