In the chaos of a busy week, these no bake cheesecake cups become my little sanctuary. They’re quick to assemble, no oven needed, and I can make them ahead of time so I don’t stress about desserts at the last minute. Plus, each cup feels like a tiny, personal treat, perfect for sharing or keeping all to myself if I’m feeling indulgent.
What I love most is how customizable they are. A drizzle of caramel, fresh berries, or even a sprinkle of crushed cookies turns each cup into a unique moment. It’s a simple recipe that invites creativity, and it’s a relief to have something sweet ready without the fuss of baking or complicated prep.
Focusing on how these individual cheesecake cups can simplify a busy week’s dessert planning, allowing for quick assembly, portion control, and personalized toppings that turn a simple treat into a customizable moment of indulgence amid chaos.
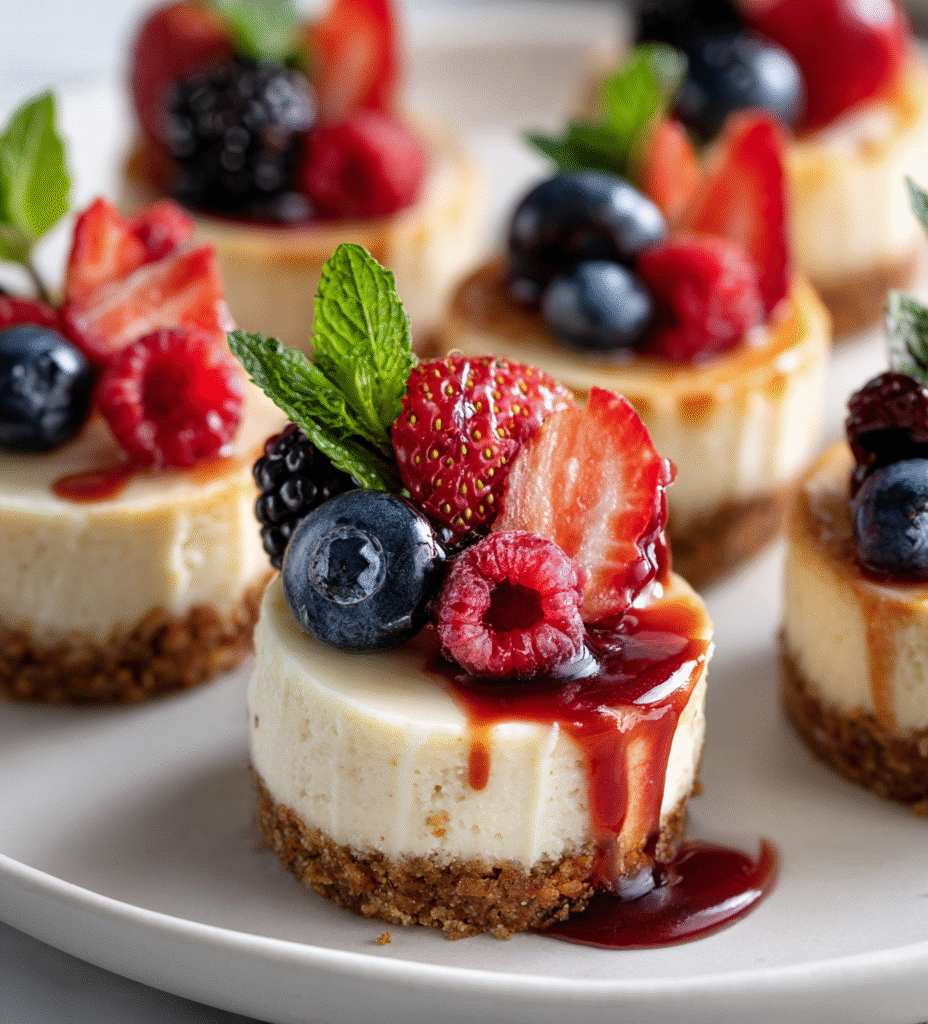
Mini Cheesecake Bliss
- I love how these cups turn a complicated dessert into something manageable, especially after a long day.
- There’s a quiet joy in customizing each cup with different toppings—like a tiny, personalized celebration.
- Making these brings back memories of family gatherings—simple, sweet moments that don’t require fuss.
- Sometimes I find myself sneaking an extra spoonful just because it’s so creamy and satisfying.
- It’s oddly comforting to have a no-fuss dessert that looks fancy but comes together in minutes.
The story behind this recipe
- This recipe was born out of a busy weekend when I needed something quick but still comforting. I wanted a dessert that felt indulgent without the fuss—something I could whip up in minutes and still feel like I’d made an effort. It’s funny how a simple idea can become a little ritual, especially when friends drop by unexpectedly or I just need a moment of sweetness after a long day.
- I remember the first time I made these for a small dinner party. I was skeptical about skipping the oven, but the creamy texture and bright flavor surprised everyone. Since then, they’ve become my go-to for casual gatherings and even solo evenings, when I want something sweet without the clean-up.
- heading: ‘The story behind this recipe
Historical & Cultural Tidbits
- The concept of individual cheesecake servings dates back to early 20th-century dessert trends in Europe, where portable, personal sweets gained popularity.
- No bake desserts became especially popular during wartime, when oven access was limited, leading to creative, fuss-free recipes like these cheesecake cups.
- This recipe taps into the modern craving for customizable, portion-controlled treats, echoing the rise of boutique-style desserts in cafes and bakeries.
- The use of cream cheese in small, assembled cups was popularized in the 1970s as a quick, elegant way to serve dessert without the need for slicing.
- Innovations in refrigeration and ingredient availability in recent decades have made these quick, no-bake cups a staple in home kitchens worldwide.
Ingredient breakdown: key components
- Cream cheese: I prefer it at room temp for easy mixing, and it’s the creamy backbone—without it, the texture’s off. You can swap in Greek yogurt for a tangier, lighter feel.
- Graham cracker crumbs: They give that classic crunch and buttery flavor. If you’re out, crushed digestive biscuits work, but the texture’s slightly more delicate.
- Sweetener: I use powdered sugar for smoothness, but honey or maple syrup can be nice—just adjust the quantity so it’s not too sweet or sticky.
- Lemon juice: Brightens everything up and cuts through the richness. Skip it if you want a milder flavor, but I think it’s essential for that fresh pop.
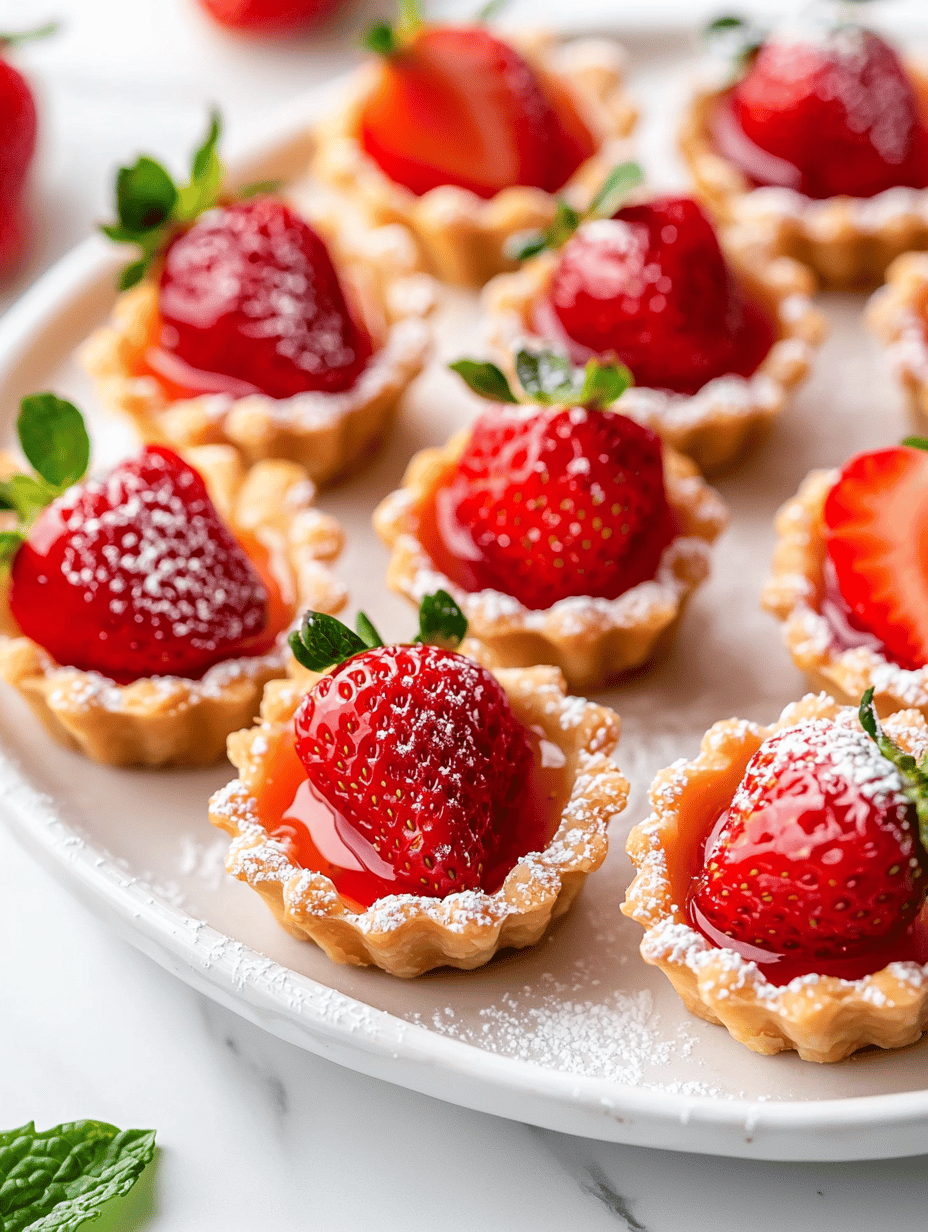
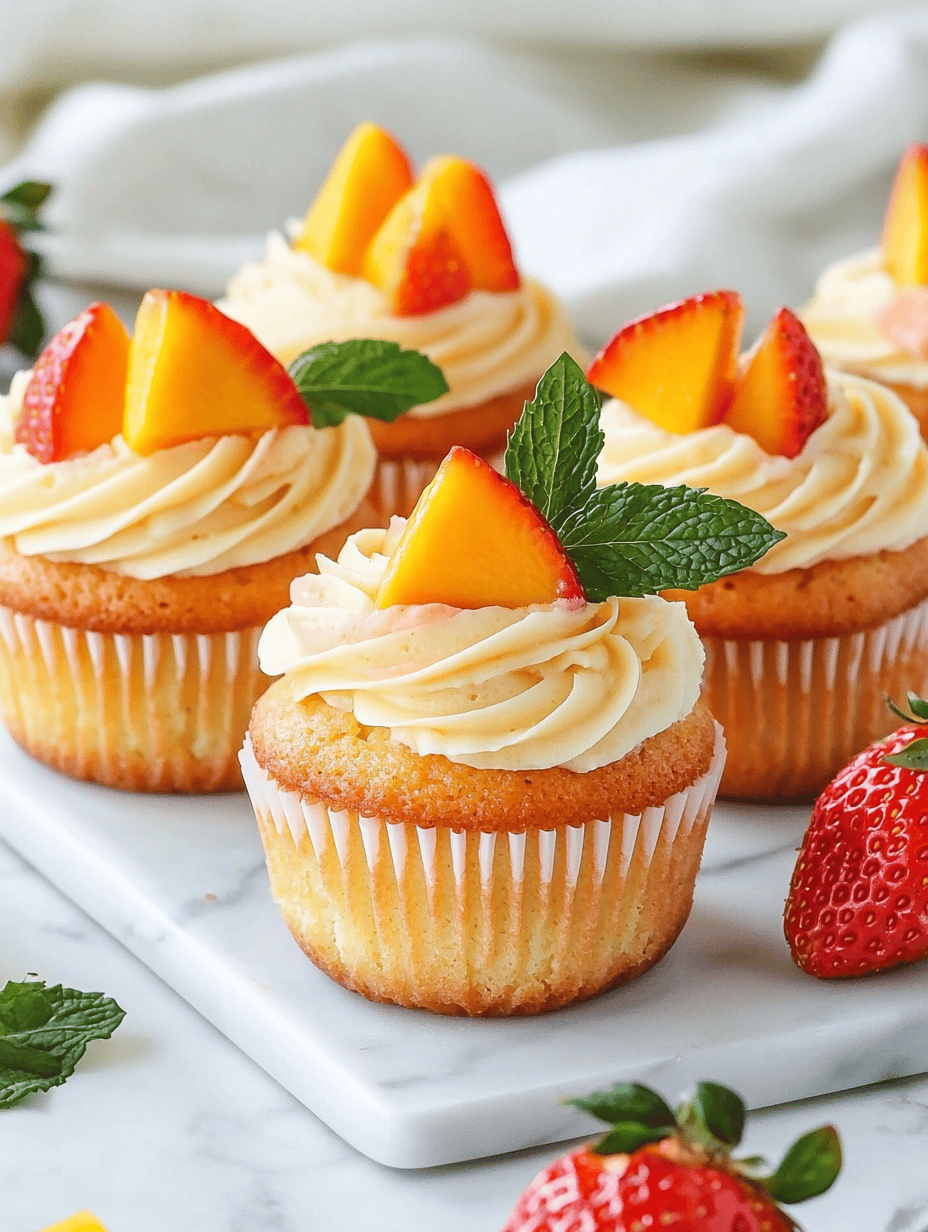
- Toppings: Fresh berries are my favorite—juicy and vibrant. But sliced peaches or even a drizzle of caramel can turn these cups into a different kind of treat.
- Optional add-ins: A splash of vanilla extract adds depth, and a pinch of sea salt can heighten all the flavors—don’t skip the salt, it’s subtle but makes a difference.
- Base options: For a richer crust, crushed cookies or even a layer of fruit preserves can add complexity—go wild, but keep the texture balanced.
Spotlight on key ingredients
Cream cheese:
- I prefer it at room temp for easy mixing, and it’s the creamy backbone—without it, the texture’s off. You can swap in Greek yogurt for a tangier, lighter feel.
- Graham cracker crumbs: They give that classic crunch and buttery flavor. If you’re out, crushed digestive biscuits work, but the texture’s slightly more delicate.
Lemon juice:
- Brightens everything up and cuts through the richness. Skip it if you want a milder flavor, but I think it’s essential for that fresh pop.
- Toppings: Fresh berries are my favorite—juicy and vibrant. But sliced peaches or even a drizzle of caramel can turn these cups into a different kind of treat.
Notes for ingredient swaps
- Dairy-Free: Swap cream cheese for coconut cream or cashew cheese. Keeps the creamy texture, but expect a slight coconut or nutty flavor.
- Sugar Alternatives: Use honey, agave, or maple syrup instead of powdered sugar. Be aware these may make the filling slightly more runny and affect sweetness.
- Crust Base: Replace graham cracker crumbs with crushed digestive biscuits or vegan cookies. Slightly different buttery notes, but still crunchy and satisfying.
- Lemon Juice: Use bottled lemon juice or lime juice for convenience. Fresh lemon provides a brighter, more vibrant flavor—try to use it if possible.
- Toppings: Fresh berries are classic, but sliced stone fruits or a caramel drizzle work well. Dried fruit or chopped nuts can add texture if fresh isn’t available.
- Flavor Boosters: Add a splash of vanilla extract or a pinch of salt to enhance overall flavor. Skip if you prefer a more minimalist taste, but it really rounds out the sweetness.
- Crust Variations: Use crushed cookies, pretzels, or granola for a different crunch. Keep the butter or oil to bind, but experiment with flavors and textures.
Equipment & Tools
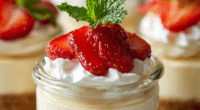
- small glass jars or cups: For portioning and presentation of each cheesecake.
- mixing bowl: To blend the cream cheese and sugar smoothly.
- spatula: To fold and spread ingredients evenly.
- small spoon or piping bag: To fill and smooth the creamy layer into cups.
- zip-top bag or rolling pin: To crush the graham crackers.
Step-by-step guide to cheesecake cups
- Gather your equipment: small glass jars or cups, a mixing bowl, a spatula, and a small spoon for layering.
- In a bowl, combine 8 oz (225 g) softened cream cheese with 1/4 cup (30 g) powdered sugar. Mix until smooth and creamy, about 2 minutes.
- Add 1 tsp (5 ml) lemon juice and a splash of vanilla extract to the cream cheese mixture. Mix again until integrated. The citrus brightens the flavor and balances the richness.
- Crush 1 cup (100 g) graham cracker crumbs in a zip-top bag using a rolling pin or a food processor until fine. Mix in 2 tbsp (25 g) melted butter and a pinch of salt if desired.
- Spoon a layer of crumb mixture into the bottom of each jar or cup, pressing lightly to create a firm base. Chill in the fridge for 10 minutes to set.
- Scoop the cream cheese filling into a piping bag or use a spoon to fill each cup on top of the crust. Smooth the surface with the back of a spoon.
- Top the filling with your choice of toppings: fresh berries, fruit slices, or a drizzle of honey. Keep refrigerated until ready to serve, ideally at least 30 minutes for the flavors to meld.
- For a smoother set, refrigerate the cups for at least 2 hours or overnight. Serve chilled, with a gentle shake or jiggle indicating firmness.
- Before serving, check that the filling is firm and slightly jiggles when shaken. The crust should be crisp, and the topping vibrant and fresh.
Chill the assembled cups for at least 30 minutes to allow flavors to meld and the filling to set. Serve straight from the fridge, topped with fresh fruit or a drizzle of topping for extra flair.
How to Know It’s Done
- Filling is firm but slightly jiggles when gently shaken.
- Crust holds shape and is crisp when pressed with a finger.
- Toppings are vibrant, fresh, and not runny or wilted.

Mini Cheesecake Bliss
Ingredients
Equipment
Method
- Crush the graham crackers in a zip-top bag using a rolling pin or in a food processor until finely ground.
- Mix the crushed graham cracker crumbs with melted butter and a pinch of salt in a small bowl until the mixture is evenly coated and resembles wet sand.
- Spoon a generous layer of the crumb mixture into the bottom of each glass jar or cup, pressing down firmly with the back of a spoon to create a compact crust. Place in the fridge for 10 minutes to set.
- In a mixing bowl, combine softened cream cheese with powdered sugar and beat with a spatula until smooth and creamy, about 2 minutes. Add lemon juice and mix again to incorporate.
- Transfer the creamy filling into a piping bag or use a small spoon to evenly fill each jar on top of the crust, smoothing the surface gently.
- Top each cheesecake with fresh berries or your favorite toppings, arranging them attractively on the surface.
- Refrigerate the assembled cups for at least 30 minutes to allow flavors to meld and the filling to firm up before serving.
- Once chilled, serve these individual cheesecake cups straight from the fridge, enjoying the creamy texture with a burst of fresh fruit on top.
Tips for perfect cheesecake cups
- Bolded Mini-Head: Chill the crust mixture thoroughly before pressing into cups—this prevents it from crumbling when assembled.
- Bolded Mini-Head: Use room temperature cream cheese for a silky, lump-free filling—cold cheese will make mixing stubborn.
- Bolded Mini-Head: Lightly tap the filled cups on the counter to release air bubbles and settle the filling evenly.
- Bolded Mini-Head: For a smoother topping, gently warm any fruit or syrup before drizzling—cold toppings can cause cracking or condensation.
- Bolded Mini-Head: When refrigerating, cover cups loosely with plastic to keep them fresh without condensation forming on the surface.
- Bolded Mini-Head: To prevent cracking, don’t overmix the filling—stop as soon as it’s smooth, no need to beat it to death.
- Bolded Mini-Head: If the filling is too soft, freeze the cups for 10–15 minutes before serving—this firms up the texture quickly.
Common mistakes and how to fix them
- FORGOT to chill the crust? Fix by refrigerating for at least 10 minutes before filling.
- DUMPED the filling into warm crust? Chill the assembled cups for 30 minutes for firmness.
- OVER-TORCHED the crust? Use lower heat next time and watch closely, edges should be golden.
- MISSED the sensory check? Gently jiggle to ensure filling is set; it should wobble slightly.
Quick fixes and pantry swaps
- When mixture is too thick, splash in a teaspoon of milk to loosen it.
- If crust is soggy, patch with a quick 5-minute re-bake at 180°C (350°F).
- Splash some lemon juice if filling turns dull or loses brightness.
- Patch cracks in the filling with a tiny dollop of extra whipped cream.
- Shield delicate toppings from moisture by adding them just before serving.
Prep, store, and reheat tips
- Prepare the crust and filling components ahead of time; keep them covered in the fridge for up to 24 hours. The creamy texture benefits from a little rest, making assembly smoother.
- Assemble the cheesecake cups a few hours before serving, then refrigerate for at least 2 hours. The chilled cups develop a firmer, more cohesive texture, and flavors meld nicely.
- Store leftovers in an airtight container in the fridge for up to 3 days. The topping may soften slightly, but the creamy center stays smooth and indulgent.
- To reheat, gently warm the cups in the fridge for 10–15 minutes or serve directly chilled. If serving warm, briefly microwave at low power for a few seconds—watch for melting or separation, then enjoy the rich, cool contrast.
Top questions about cheesecake cups
1. Can I use cream cheese straight from the fridge?
Use softened cream cheese for smooth mixing, and avoid lumps. Cold cheese makes it stubborn to blend.
2. Can I substitute the graham cracker crust?
Yes, you can swap graham cracker crumbs for digestive biscuits or crushed cookies, but the texture might be a bit more delicate.
3. Is lemon juice necessary?
A splash of lemon juice brightens the flavor with a tart, citrusy note. Skip if you prefer a milder taste.
4. How long should I refrigerate before serving?
Chill the assembled cups for at least 2 hours or overnight. The filling firms up, and flavors meld together.
5. Can I prepare these in advance?
Yes, these cups can be made a day ahead. Keep covered in the fridge and add fresh toppings just before serving.
6. What if the filling is too soft or crust soggy?
If the filling is too runny, chill for 10-15 minutes to firm up. If crust is soggy, quickly re-bake at 180°C (350°F) for 5 minutes.
7. Should ingredients be cold or room temperature?
Use room temperature ingredients for a silky, lump-free filling. Cold ingredients cause lumps and make mixing harder.
8. What toppings work best?
You can top with fresh berries, fruit slices, or a drizzle of caramel or honey for extra flavor and visual appeal.
9. How do I fix cracks in the filling?
If the mixture cracks during setting, gently patch with a tiny dollop of whipped cream or extra filling.
10. How can I make filling look neater?
Use a small spoon or piping bag for cleaner, more precise filling. Tapping the cups helps eliminate air bubbles.
These no bake cheesecake cups are a real lifesaver when time is short but you still want something satisfying. They come together quickly, and the creamy texture paired with fresh toppings makes each bite feel special. It’s a simple pleasure that fits perfectly into a hectic schedule.
Plus, they’re endlessly customizable, which means you can tweak the toppings or crust to suit any mood or season. No matter when you make them, they remind me that sometimes, the best desserts are the easiest ones to love.

Hi, I’m Ruby Thorn, the home cook behind The Tender Mess. Join me on the journey of Embracing the mess, fearlessly create —because in the kitchen, the mess sometimes leads to magic.