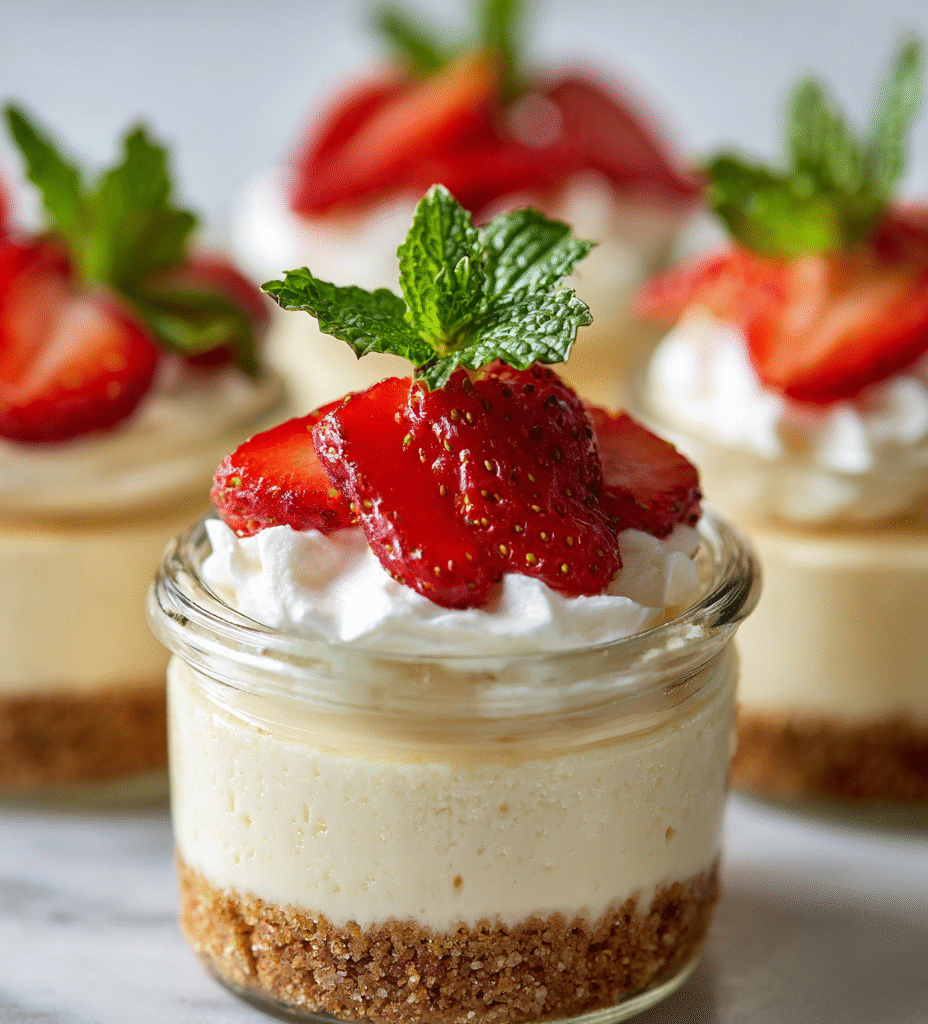
These no-bake cheesecake jars are my go-to for when I want something sweet without the fuss of a full dessert. They’re simple, honest, and come together with ingredients I usually have on hand. Plus, they’re perfect for grabbing on the go—no plates, no forks needed.
What I love most is how each jar feels like a little personal treat, like I’ve made a tiny cake just for me. It’s a tactile experience, scooping that creamy filling with a graham cracker crust, feeling the chill and the richness in every bite. It’s comfort in a portable container, simple but satisfying.
These jars also make a great make-ahead dessert—stash them in the fridge and enjoy whenever a craving hits. They’re flexible, too, so I often tweak the toppings or switch up the base flavor. It’s a no-fuss way to serve something homemade without feeling overwhelmed.
Focusing on individual portions, these jars turn an everyday dessert into a personal, portable treat that’s perfect for busy mornings or impromptu gatherings. It’s about bringing comfort in a container, with a tactile, handheld experience that feels both nostalgic and fresh.
Portability and Personal Touch
- I love how these jars make dessert feel like a personal gift, not just a sweet bite.
- There’s a quiet satisfaction in assembling these—layering crust, filling, and toppings—it’s almost meditative.
- Sharing these mini cheesecakes with friends sparks a little joy—each jar feels like a small celebration.
- When I’m in a pinch, knowing I have these ready in the fridge lifts a lot of stress—dessert on demand.
- There’s a nostalgic comfort in the creamy tang of cheesecake, wrapped up in a portable jar I can take anywhere.
The story behind this recipe
- This recipe was born out of a busy weekend when I needed a sweet fix that wouldn’t require turning on the oven. I remembered how my grandma used to keep small jars of creamy desserts in the fridge, ready for a quick treat. That nostalgic simplicity stayed with me, and I wanted to recreate that feeling with a modern twist.
- I love how these jars turn a classic cheesecake into a personal, portable moment—perfect for sharing or just sneaking a little bit of comfort during hectic days. It’s about making dessert accessible and unpretentious, with a homemade feel that’s honest and satisfying.
- I started experimenting with different crust bases and toppings, aiming for a balance that’s rich but not overwhelming. The key was keeping it simple—ingredients that come together quickly, but still taste like a special little indulgence.
Trivia and Origins
- This recipe draws inspiration from the late 20th-century trend of individual, portable desserts that gained popularity in casual dining and party settings.
- Cheesecake in jars became a hit in the early 2000s, especially among food bloggers looking for stylish, easy-to-serve treats for picnics and potlucks.
- The no-bake aspect pays homage to simpler times when quick, refrigerator-set desserts were a household staple, especially during busy or resource-constrained periods.
Key ingredients and tips
- Cream cheese: I prefer a full-fat block for richness; it makes the filling silky and indulgent, like velvet. For a lighter version, try neufchâtel but expect a slightly less creamy texture.
- Graham cracker crumbs: I toast them lightly to deepen the flavor and add a subtle smoky note. If you’re out, digestive biscuits or even vanilla wafers work well—just adjust sweetness.
- Sugar: I keep it simple with granulated, but a touch of honey or maple syrup can add a lovely floral sweetness that’s not too sweet. Adjust based on your crust or topping choices.
- Lemon juice: Brightens everything, making it feel fresh and zesty. If you want a more pronounced citrus punch, add a bit more, but be careful—it can curdle if overdone.
- Heavy cream: Whipped until soft peaks, it gives the filling a light, airy texture. If you prefer a denser cheesecake, skip the whipped cream or fold in less.
- Vanilla extract: I use pure vanilla for a warm, rounded aroma that balances the tang. Almond extract can be a surprising twist, but use sparingly—it’s bold.
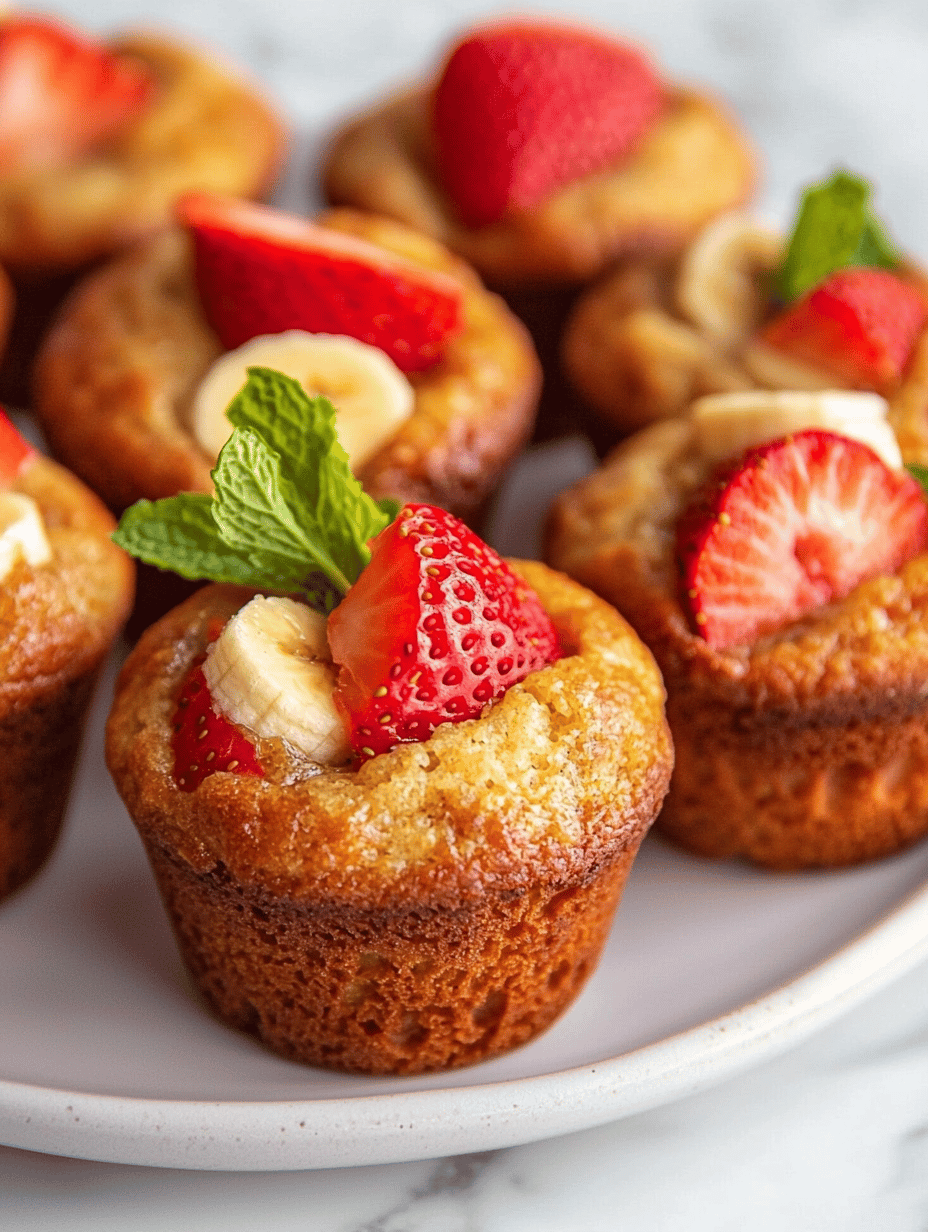
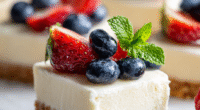
- Toppings (berries, chocolate, etc.): I love fresh berries—they add a juicy burst and vibrant color. For chocolate, a drizzle of melted dark chocolate adds a bittersweet finish.
Spotlight on Key Ingredients
Cream cheese:
- I love how it transforms into an ultra-silky, slightly tangy filling that feels almost velvety on the tongue. It’s the star of the show, offering that rich cheesecake flavor that’s hard to beat.
- Graham cracker crumbs: I toast mine until they smell lightly smoky and nutty, which adds depth. They give the crust a satisfying crunch and a warm, buttery aroma that contrasts beautifully with the creamy filling.
Heavy cream:
- Lemon juice: Brightens the entire dessert with a sharp, citrus zing that wakes up the palate. The oozy, fresh scent when you squeeze it is a sign it’s doing its job, balancing the richness.
- Whipped until soft peaks, it lends an airy, cloud-like texture to the filling. Its subtle sweetness and the way it folds in smoothly keep the cheesecake light and fluffy.
Notes for ingredient swaps
- Dairy-Free: Use coconut cream or cashew-based cream cheese for a rich, dairy-free version, though the flavor will shift slightly.
- Sweetener Swap: Honey or maple syrup can replace sugar, bringing a different depth of flavor and a bit of moisture.
- Crust Base: Instead of graham crackers, try digestive biscuits or crushed cookies—each adds a unique flavor and texture.
- Lemon Juice: Lime juice offers a similar brightness with a slightly different tang; omit or reduce if too sharp.
- Heavy Cream: Substitute with Greek yogurt or coconut whipped cream for a tangy or dairy-free option, but expect a different texture.
- Flavor Variations: Add a splash of coffee or liqueur to the filling for a grown-up twist—adjust the amount for intensity.
- Topping Ideas: Swap berries for chopped nuts, toasted coconut, or chocolate shavings depending on your mood and pantry.
Equipment & Tools
- Small jars with lids: For serving and portable storage
- Mixing bowl: To prepare the crust and filling
- Spoon: For mixing, filling, and pressing crust
- Small saucepan: Optional for melting butter or toasting crumbs
- Whisk: To blend ingredients smoothly
Step-by-step guide to no bake jars
- Gather your equipment: 4 small jars with lids, a mixing bowl, a spoon, a small saucepan, and a whisk. The jars are your canvas, the bowl and spoon for mixing, and the saucepan for melting butter or preparing crumbs if needed.
- Crush the graham crackers: Use a rolling pin or the bottom of a glass to crush about 1 ½ cups of graham crackers into fine crumbs. Aim for a consistent texture to ensure even crusts.
- Mix the crust: In a bowl, combine the crumbs with ¼ cup of sugar and 4 tablespoons of melted butter. Stir until the mixture looks crumbly but holds together when pressed. If it’s too dry, add a tiny splash more butter.
- Distribute the crust: Spoon about 1-2 tablespoons of the mixture into each jar. Press down firmly with the back of a spoon or a small flat-bottomed object until evenly packed. Chill the jars for 10 minutes while you prepare the filling.
- Make the filling: In the mixing bowl, beat 8 oz of softened cream cheese until smooth and fluffy, about 2 minutes. Add ¼ cup of sugar, a teaspoon of vanilla, and a tablespoon of lemon juice. Mix until combined.
- Whip the cream: In a separate bowl, whip ½ cup of heavy cream until soft peaks form, about 3-4 minutes. Gently fold the whipped cream into the cream cheese mixture in batches. The goal is a light, airy filling that’s not too stiff.
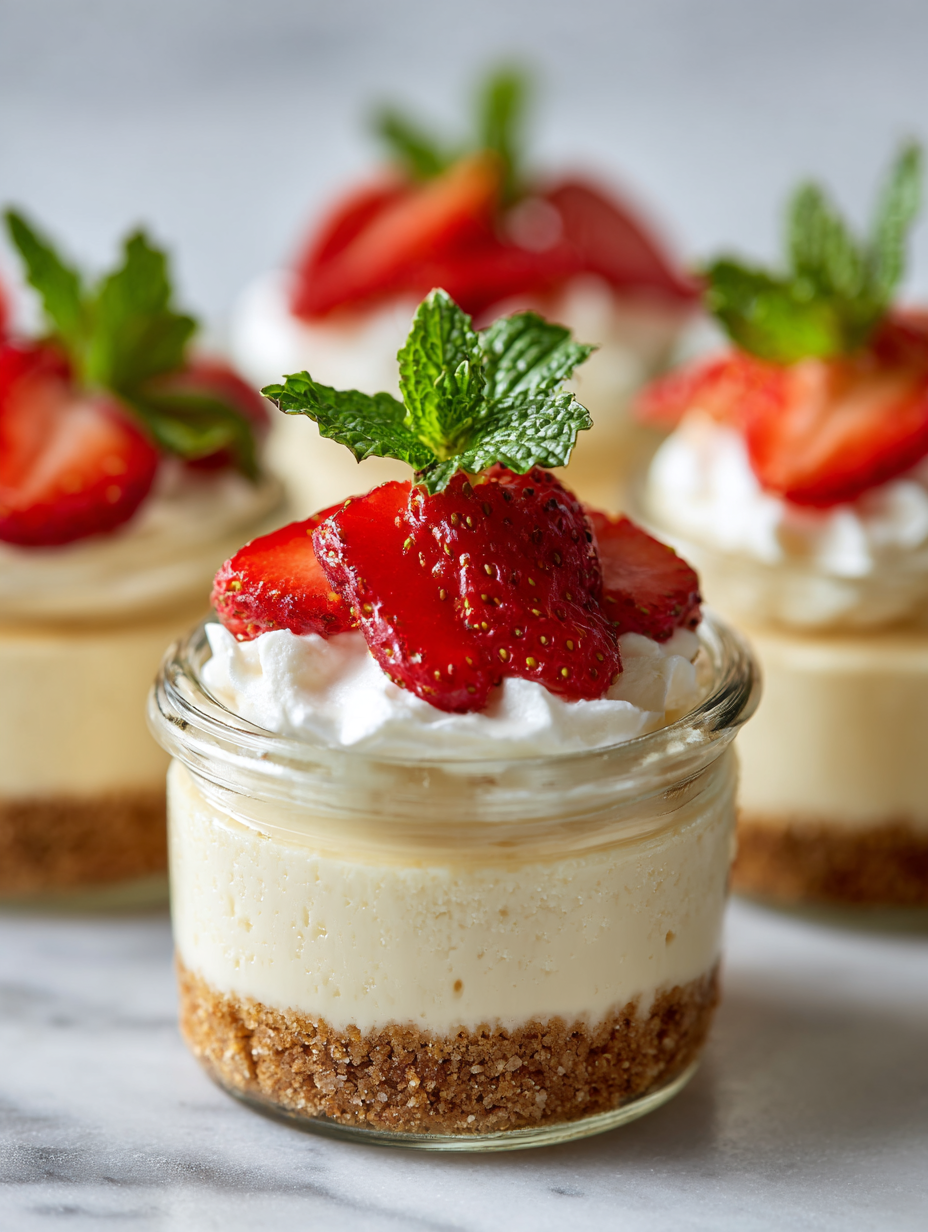
- Assemble the jars: Spoon or pipe the cheesecake filling into each jar over the crust, filling almost to the top. Smooth the surface with the back of a spoon. Cover with lids or plastic wrap.
- Chill and set: Refrigerate the jars for at least 4 hours, preferably overnight. This allows the flavors to meld and the filling to firm up. Avoid disturbing them during this time to prevent cracks or sinking.
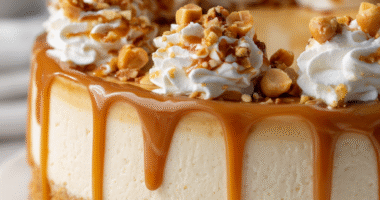
- Finish with toppings: Before serving, add fresh berries, chocolate shavings, or a drizzle of caramel on top. Keep toppings refrigerated if made ahead to maintain freshness.
- Serve chilled: Gently remove from the fridge, check that the filling is firm and glistening, then enjoy straight from the jar or transfer to a plate for presentation.
Chill the assembled jars in the fridge for at least 4 hours or overnight. Just before serving, add toppings for a fresh, vibrant finish. Serve directly from the fridge for the best texture and flavor.
How to Know It’s Done
- Crust is firm and holds shape when pressed.
- Filling is smooth, creamy, and holds its shape without sinking.
- Chilled jars have a slight wobble but are set and not runny.
No-Bake Cheesecake Jars
Ingredients
Equipment
Method
- Crush the graham crackers into fine crumbs using a rolling pin or the bottom of a glass. Spread them out on a baking sheet and toast lightly in a skillet over medium heat until fragrant, about 2 minutes, then let cool.
- In a small bowl, combine the toasted crumbs with sugar and melted butter. Stir until the mixture resembles wet sand and can hold together when pressed.
- Spoon 1-2 tablespoons of the crust mixture into each jar. Using the back of a spoon, press the crust down firmly to create an even, compact layer. Refrigerate the jars while you prepare the filling.
- In a mixing bowl, beat the softened cream cheese until smooth and fluffy, about 2 minutes. Add sugar, vanilla extract, and lemon juice, then mix until well combined and creamy.
- In a separate bowl, whip the heavy cream until soft peaks form, about 3-4 minutes. Gently fold the whipped cream into the cream cheese mixture carefully to keep it light and airy.
- Remove the jars from the fridge and spoon the cheesecake filling over the crust, filling each jar almost to the top. Smooth the surface with the back of a spoon.
- Cover the jars with lids or plastic wrap and refrigerate for at least 4 hours, preferably overnight, to let the filling set and flavors meld.
- Before serving, top each jar with fresh berries, chocolate shavings, or your favorite toppings. Serve chilled directly from the fridge or at room temperature for a softer texture.
Pro Tips for Perfect Jars
- Bolded mini-head: Chill the jars thoroughly before filling to prevent the filling from melting or slipping.
- Bolded mini-head: Use room temperature cream cheese for a smoother, more cohesive filling that mixes easily.
- Bolded mini-head: When folding whipped cream into the filling, do it gently to keep the mixture airy and light.
- Bolded mini-head: Toast your graham cracker crumbs lightly until fragrant for a richer, more complex crust flavor.
- Bolded mini-head: For a smoother filling, beat the cream cheese until completely soft and free of lumps before adding other ingredients.
- Bolded mini-head: Add lemon juice gradually and taste as you go; too much can curdle the cream cheese or overpower the flavor.
- Bolded mini-head: Chill the assembled jars for at least 4 hours or overnight to allow flavors to meld and the filling to set properly.
Common mistakes and how to fix them
- FORGOT to chill jars → Chill jars for at least 4 hours to set properly.
- DUMPED filling too hot → Let filling cool slightly before filling jars.
- OVER-TORCHED crust → Toast crust until golden, not burnt, to avoid bitterness.
- MISSED mixing cream properly → Whip cream to soft peaks for lightness.
Quick fixes and pantry swaps
- When filling jars feels too runny, splash a little extra whipped cream to stabilize the texture.
- If the crust crumbs aren’t sticking well, patch with a tiny drizzle of melted butter and press again.
- Splash a little lemon juice on the crust if it tastes bland—brightens and enhances flavor instantly.
- When jars crack during chilling, shield with a towel and reduce fridge temperature slightly.
- Dumped filling too thick? Rescue with a splash of milk or cream, then fold gently to loosen.
Prep, store, and reheat tips
- Prepare the crust and filling components a day ahead. Keep the crust dry and crisp, and the filling well chilled for a smooth texture.
- Store assembled jars covered tightly in the fridge. They stay fresh for up to 3 days, with flavors mellowing slightly over time.
- For longer storage, freeze the jars for up to 2 weeks. Thaw overnight in the fridge before serving for best texture.
- Reheat by letting the jars sit at room temperature for 10 minutes, then enjoy chilled or at room temp—sensory notes include creamy richness and subtle tartness, with a firm set.
Top questions about no bake jars
1. Can I use low-fat cream cheese?
Use full-fat cream cheese for the richest, smoothest filling that feels indulgent and creamy. Lighten it with neufchâtel if you prefer less richness.
2. Can I substitute the graham crackers?
Yes, graham crackers are classic, but digestive biscuits or crushed cookies work well, adding their own toasted or buttery notes.
3. How long do I need to chill the jars?
Chill the jars for at least 4 hours, ideally overnight. The filling should be firm, with a slight wobble, and set without cracks.
4. Can I skip whipping the cream?
Whip heavy cream until soft peaks form, about 3-4 minutes. Gently fold it into the cream cheese mixture to keep it light and airy.
5. Can I add toppings ahead of time?
Add fresh berries or chocolate shavings on top just before serving. Keep toppings refrigerated until ready to serve for freshness.
6. Are there dairy-free options?
Yes, for a dairy-free version, use coconut cream or cashew-based cream cheese. Expect a slightly different texture and flavor profile.
7. How do I prevent lumps in the filling?
The key is to use room temperature cream cheese and whip it until smooth and fluffy. This prevents lumps and ensures a silky texture.
8. What if the filling is too loose?
If the filling is too runny, fold in a bit more whipped cream or chill it for an extra hour. For a thicker crust, toast the crumbs longer.
9. How long can I keep the jars in the fridge?
Store the jars covered in the fridge for up to 3 days. Freezing extends shelf life but may affect the texture slightly.
10. What if a jar cracks during chilling?
When a jar cracks in the fridge, shield it with a towel and lower the fridge temperature slightly. Avoid sudden temperature changes.
These no-bake cheesecake jars are more than just a quick treat; they’re a reminder that simple ingredients can come together to create something special. Each bite delivers a creamy, tangy punch with a satisfying crust that feels just right. It’s a dessert I keep coming back to, especially when I want comfort without the fuss.
In a world that moves fast, these jars slow me down—offering a moment of indulgence that’s honest and personal. Whether it’s a busy weekday or a lazy weekend, they’re a little bit of homemade joy in a portable package. Sometimes, that’s all I really need.

Hi, I’m Ruby Thorn, the home cook behind The Tender Mess. Join me on the journey of Embracing the mess, fearlessly create —because in the kitchen, the mess sometimes leads to magic.