This no-bake peanut oat bar recipe takes me straight back to childhood afternoons when I’d raid the pantry for something sweet and satisfying. It’s the kind of treat that’s simple enough for busy mornings or late-night cravings, but still feels indulgent. There’s a certain kind of comfort in the sticky, nutty aroma that fills the kitchen as the oats and peanut butter meld together.
What I love most is how adaptable it is—no oven needed, just a little patience as it sets in the fridge. It’s honest, straightforward cooking that leans on good ingredients and a little bit of nostalgia. Plus, it’s perfect for when you want a quick, wholesome snack that doesn’t mess up the kitchen.
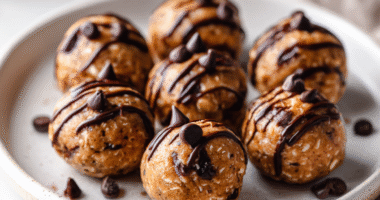
This recipe is inspired by childhood memories of sticky, sweet snacks I’d sneak into the pantry—turned into a wholesome, no-bake treat that’s perfect for busy mornings or late-night cravings.
The story behind this recipe
- This recipe was born out of a lazy Sunday afternoon, when I realized I had a jar of peanut butter and a handful of oats that needed using up. I wanted something quick, filling, and without the fuss of baking—something I could grab when the snack craving hits hard. It’s funny how simple ingredients can come together to make something unexpectedly satisfying.
- I remember the first time I made these bars, I was actually trying to recreate a childhood store-bought version, but I kept tweaking it until it felt just right—more peanutty, a little crunchier, with that perfect chew. Now, they’re my go-to for busy mornings or when friends drop by unannounced and I need something sweet but wholesome.
- heading
- story_type
Ingredient breakdown: key components
- Peanut Butter: I prefer a creamy, slightly salty variety that melts easily—look for one with minimal added sugar. If you want more flavor, try a crunchy version for extra texture.
- Oats: Old-fashioned rolled oats give the bars a hearty chew and nutty aroma. For a softer bite, briefly toast them before mixing, which enhances their flavor and adds a smoky hint.
- Honey: I use honey to bind everything together and add natural sweetness. If you want a less sticky result, swap in maple syrup—just watch the flavor profile shift a bit.
- Butter: A splash of melted butter helps everything hold together and adds richness. For a dairy-free version, substitute with coconut oil for a slightly tropical scent and firm set.
- Add-ins (Chocolate, Dried Fruit): I love tossing in dark chocolate chips or chopped dried cranberries for bursts of flavor. For a more natural taste, skip the chocolate and add a sprinkle of sea salt instead.
- Salt: Just a pinch enhances the peanut butter’s nuttiness and balances the sweetness. If you prefer a sweeter bar, cut back or omit this step, but don’t skip it entirely for flavor depth.
- Optional Extras (Chia seeds, Flaxseed): I include a tablespoon of chia or flaxseeds for extra crunch and nutrition. If you’re out, just double the oats—your bars will still turn out great.
Spotlight on key ingredients
Peanut Butter:
- I prefer a creamy, slightly salty variety that melts easily—look for one with minimal added sugar. If you want more flavor, try a crunchy version for extra texture.
- Oats: Old-fashioned rolled oats give the bars a hearty chew and nutty aroma. For a softer bite, briefly toast them before mixing, which enhances their flavor and adds a smoky hint.
Sweeteners & Add-ins:
- Honey: I use honey to bind everything together and add natural sweetness. If you want a less sticky result, swap in maple syrup—just watch the flavor profile shift a bit.
- Chocolate chips: Mini chips melt slightly when pressed into the warm mixture, adding bursts of sweetness with a slight glossy sheen. Chop larger chocolate for more control over distribution.
Notes for ingredient swaps
- Nuts: Swap peanuts for almonds or cashews. They bring different oils and flavors, but still give that satisfying crunch.
- Sweetener: Honey can be replaced with maple syrup or agave nectar. Expect a slightly different sweetness and a thinner consistency.
- Oats: Use quick oats if you’re in a pinch, but the bars will be less chewy and slightly more crumbly.
- Butter: Coconut oil works well for dairy-free, adding a subtle tropical scent but slightly less richness.
- Add-ins: Dried cranberries or chopped dates can replace chocolate chips for a fruitier, less sweet burst of flavor.
- Salt: Sea salt flakes add a popping contrast; regular table salt is fine but less dramatic in texture.
- Binding agents: If you’re out of honey or syrup, mashed banana or date paste can help hold things together, but may alter flavor slightly.
Equipment & Tools
- 20×20 cm (8×8 inch) baking pan: To hold and shape the mixture as it sets.
- Parchment paper: For easy removal and clean slicing.
- Large mixing bowl: To combine ingredients thoroughly.
- Spatula: To mix and press the mixture evenly.
- Sharp knife: To cut bars cleanly.
Step-by-step guide to no-bake bars
- Gather all your ingredients and tools. Line up a 20×20 cm (8×8 inch) baking pan with parchment paper for easy removal.
- Use a sturdy bowl and a spatula. Mix 1 cup (250 g) creamy peanut butter, 1/4 cup (60 ml) honey, and 2 tbsp (30 g) melted butter until smooth and glossy, about 2 minutes.
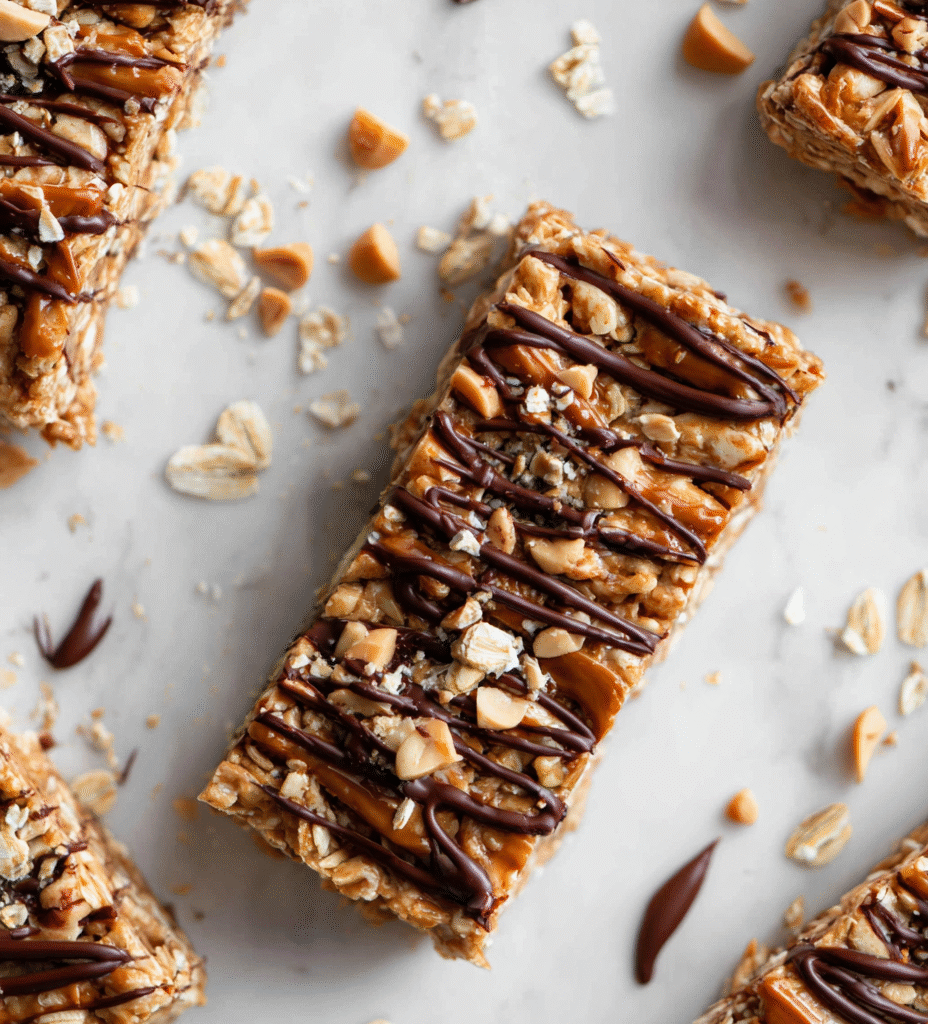
- Add 2 cups (180 g) rolled oats and 1/2 cup (80 g) mini chocolate chips or chopped nuts if desired. Stir until evenly coated and sticky, about 3 minutes.
- Transfer the mixture into your prepared pan. Press firmly with the back of a spatula or your fingers to spread evenly. Ensure the surface is smooth and compacted.
- Place the pan in the fridge. Chill for at least 2 hours, or until the mixture feels firm and holds together when pressed. If rushed, pop in the freezer for 30 minutes, but no longer to avoid freezing the bars.
- Once set, lift the parchment paper and transfer the whole block onto a cutting board. Slice into 8-10 bars or squares, depending on your preferred size.
- For a cleaner cut, use a sharp knife dipped in hot water and wiped dry between slices. This helps prevent sticking and jagged edges.
- Optional: drizzle with melted chocolate or sprinkle sea salt on top before the final chill for extra flavor. Let it set for 15 minutes in the fridge.
- Rest the bars for 10 minutes at room temperature before serving. This allows the flavors to settle and the texture to soften slightly.
Once sliced, store the bars in an airtight container in the fridge for up to a week. For longer storage, wrap individually and freeze for up to a month. Let sit at room temperature for 5 minutes before eating to soften slightly and release aroma.
How to Know It’s Done
- The mixture is well combined and sticky enough to hold its shape when pressed.
- The bars are firm to the touch after chilling, not gooey or overly soft.
- Edges are clean and smooth when sliced, with minimal crumbling.
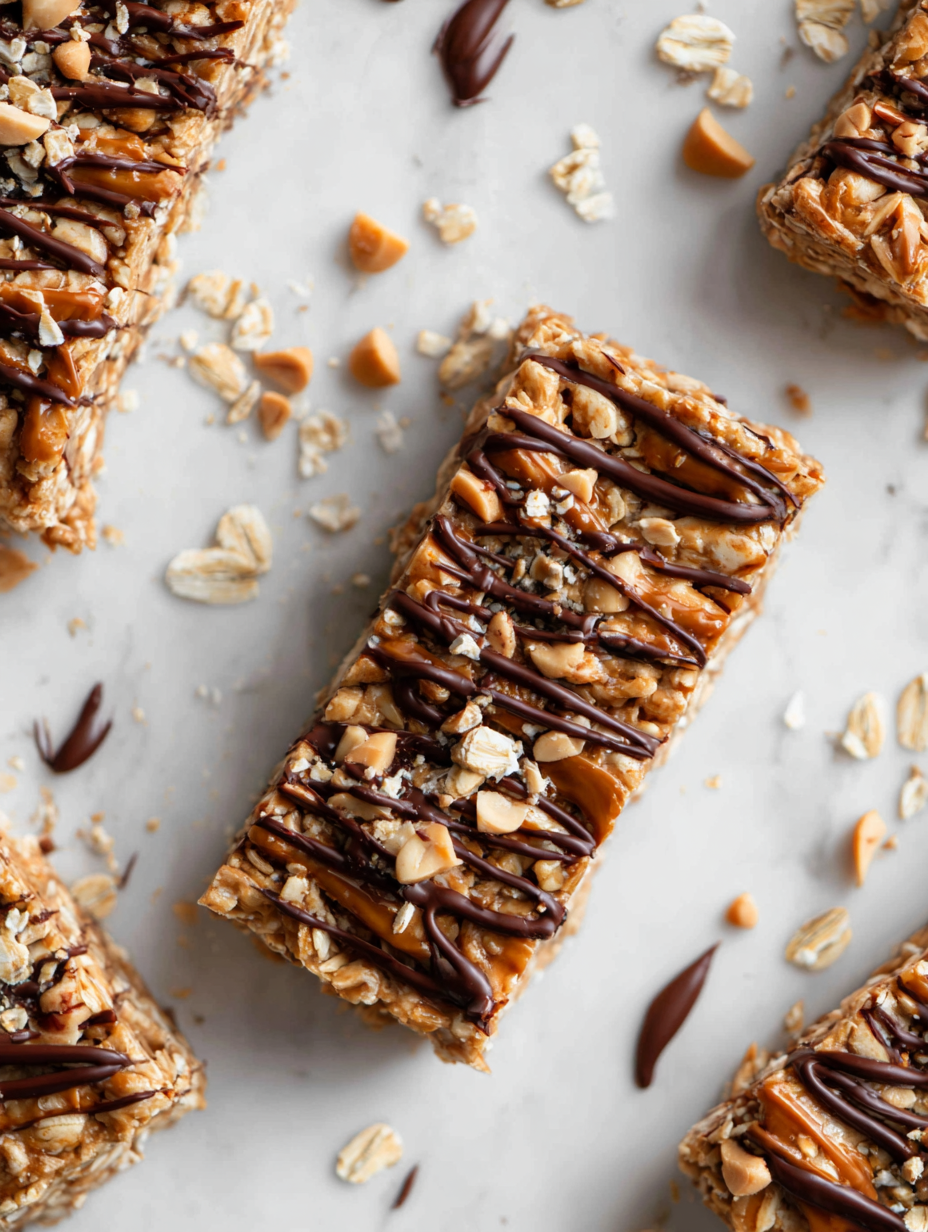
No-Bake Peanut Oat Bars
Ingredients
Equipment
Method
- Line your baking pan with parchment paper, leaving some overhang for easy removal.
- In a large mixing bowl, combine the creamy peanut butter, honey, and melted butter. Stir with a spatula until the mixture is smooth, glossy, and well integrated, releasing a nutty aroma.
- Add the rolled oats to the bowl, folding them into the wet mixture until evenly coated. The mixture should become thick and sticky, with oats starting to clump together.
- Stir in the mini chocolate chips or any optional add-ins you like, distributing them evenly throughout the mixture.
- Transfer the mixture into your prepared pan. Using the back of a spatula or your fingers, press the mixture firmly into an even layer, making sure the surface is smooth and compacted. You should hear a slight crackle as you press down.
- Place the pan in the fridge and chill for at least 2 hours, or until the mixture is firm and holds its shape when pressed. For quicker setting, you can pop it into the freezer for about 30 minutes, but avoid freezing it solid.
- Once set, lift the entire block out of the pan using the parchment overhang. Place on a cutting board and cut into 8 to 10 bars or squares, depending on your preferred size.
- For clean slices, dip your sharp knife in hot water and wipe dry between cuts. This helps prevent sticking and makes your bars look neat and appealing.
- If desired, drizzle melted chocolate over the bars or sprinkle with a pinch of sea salt for extra flavor. Return to the fridge for a few minutes to set the toppings.
- Let the bars rest at room temperature for about 10 minutes before serving. This allows the flavors to mellow and the texture to soften slightly, making each bite even more satisfying.
Notes
Tips & Tricks for Perfect Bars
- & Press: Use the back of a spatula to press the mixture firmly into the pan to ensure even setting.
- Chill & Check: Let the bars chill until firm, then gently tap the surface—if it jiggles slightly, give it more time.
- Temperature Control: Melt chocolate or butter slowly on low heat or in short bursts to prevent scorching and bitterness.
- Layer & Smooth: When pressing mixture into the pan, work from the center outward for an even, compact surface.
- Knife Tricks: Dip your knife in hot water before slicing for cleaner, crisper cuts without crumbling.
- Ingredient Timing: Toast oats lightly beforehand for a smoky aroma and richer flavor, but keep a close eye to avoid burning.
- Add-ins & Texture: Incorporate nuts or dried fruit last, folding gently to keep the mixture from becoming too sticky or loose.
Common mistakes and how to fix them
- FORGOT to evenly distribute ingredients → Spread mixture firmly to prevent crumbling.
- DUMPED in too much honey → Use precise measurements for balanced sweetness and texture.
- OVER-TORCHED the chocolate → Melt at low heat or in short bursts to avoid burning.
- MISSED chilling time → Ensure full set in fridge for proper firmness and clean slicing.
Fast fixes for common issues
- When mixture is too dry, splash in a touch of warm water to loosen it.
- If bars stick to the pan, spray with non-stick spray before pressing in.
- Splash a few drops of hot water on chocolate to melt smoothly without burning.
- Patch a cracked bar with a thin layer of melted chocolate for a tidy look.
- Shield delicate toppings with foil if they brown too quickly during chilling.
Prep, store, and reheat tips
- Prepare the mixture and press into the pan a day in advance. Wrap tightly and chill overnight for easier slicing and enhanced flavor.
- Bars can be stored in an airtight container in the fridge for up to a week. The cool temp keeps them firm and prevents sticking.
- For longer storage, freeze individually wrapped bars for up to a month. Thaw at room temperature for 5 minutes before serving to soften slightly.
- Reheat briefly in the microwave at 50% power for 10 seconds if you prefer a warm, melty texture. The aroma of peanut and oats will intensify.
Top questions about no-bake peanut oat bars
1. Can I use crunchy peanut butter?
You can use crunchy peanut butter for more texture, but creamy works best for smooth bars.
2. Can I replace honey?
Yes, swapping honey with maple syrup or agave will work, but expect a slightly different flavor and stickiness.
3. Can I use quick oats instead of rolled oats?
Using quick oats will make the bars less chewy and more crumbly, but still tasty.
4. What if I want a dairy-free option?
Coconut oil can replace butter for a dairy-free version that adds a subtle tropical scent.
5. Can I add dried fruit instead of chocolate?
Dried cranberries or chopped dates can be added instead of chocolate chips for a fruity punch.
6. Should I add salt?
Adding a pinch of sea salt enhances flavor, but you can omit it if you prefer a sweeter taste.
7. Can I add seeds or nuts?
Chia or flaxseeds can boost nutrition — just toss them in with the oats.
8. How do I get clean slices?
For a cleaner cut, dip your knife in hot water between slices.
9. How long should I chill the bars?
Chill the mixture until firm, typically about 2 hours, to help it set properly.
10. How should I store these bars?
Store in an airtight container in the fridge for up to a week or freeze for longer.
Making these no-bake peanut oat bars is more than just a quick snack fix; it’s a little act of nostalgia and simplicity. The aroma of peanut butter and toasted oats filling the kitchen always takes me back to childhood afternoons when treats felt like small treasures.
They’re perfect when you need something wholesome, mess-free, and ready in a flash. Plus, they’re flexible enough to adapt to your pantry and mood, which makes them a staple I keep coming back to.

Hi, I’m Ruby Thorn, the home cook behind The Tender Mess. Join me on the journey of Embracing the mess, fearlessly create —because in the kitchen, the mess sometimes leads to magic.