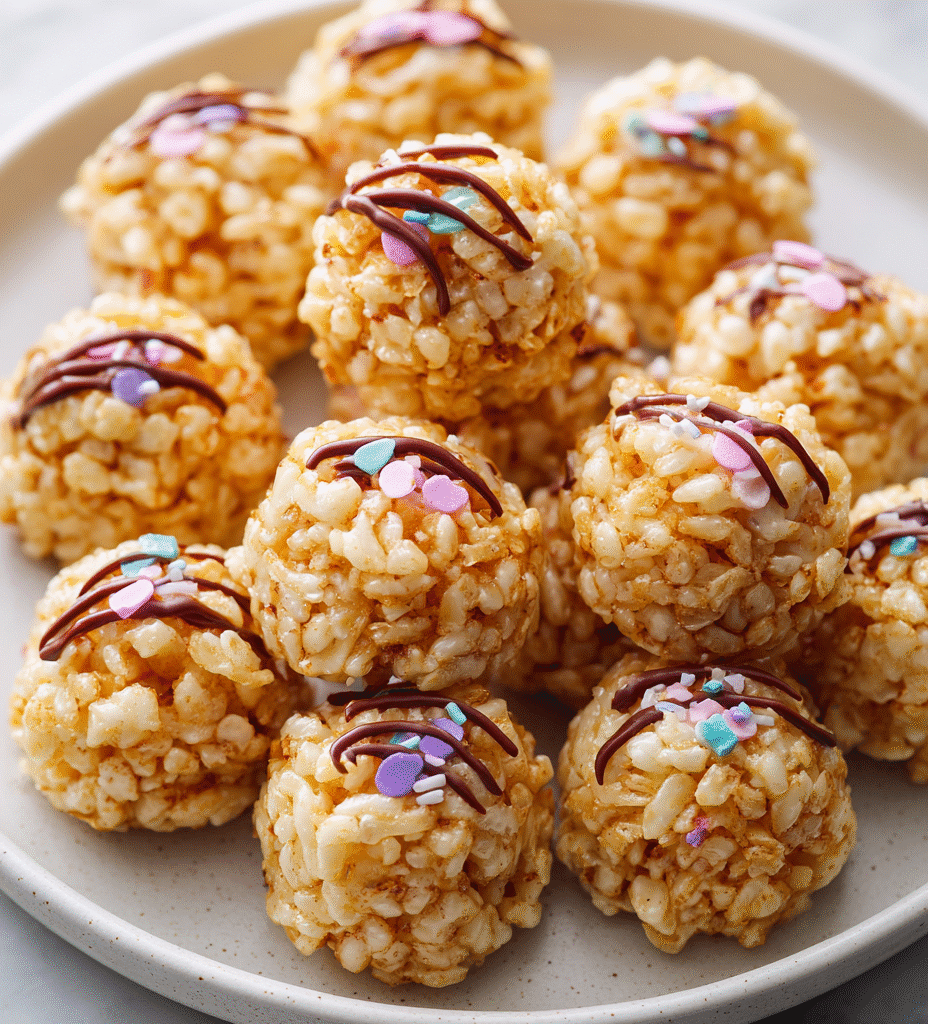

On chaotic mornings, I reach for these no bake Rice Krispie Bites. They’re my tiny escape, sweet and crunchy, without any heat involved. The best part? They come together in just a few minutes, which is a lifesaver when time feels tight and energy is low.
There’s something about the simple combo of marshmallow and crispy cereal that reminds me of childhood afternoons. But making them myself, I can tweak the sweetness or add a little extra flavor—no oven needed, just a sturdy spoon and a quick clean-up. It’s honest, honest comfort, in bite-sized form.
These bites also hold a special place in my kitchen because they’re so adaptable. No matter what I have on hand—peanut butter, chocolate, or even dried fruit—they turn into something special. It’s a recipe I turn to when I want a treat that’s quick, satisfying, and totally customizable.
This recipe is inspired by the chaotic mornings when I need a quick, satisfying treat that doesn’t require turning on the stove, but still feels like a special little moment. It’s about harnessing the comforting crunch of Rice Krispies and the gooey sweetness of marshmallow, all whipped up in under ten minutes, with no fuss or heat. Perfect for those days when the kitchen feels too warm or I’m just craving something familiar yet effortless.
A Shortcut to Childhood Comfort
- I love how these bites remind me of lazy afternoons when everything slows down just enough to enjoy a sweet crunch.
- There’s a chaotic joy in pulling these together with whatever cereal I have—no fuss, no heat, just pure simplicity.
- Making these takes me back to childhood, but customizing them feels like giving an old favorite a little adult twist.
- The best part? They come together so fast, I can whip up a batch while multitasking in the kitchen.
- Every time I make these, I feel a small burst of pride for turning a simple idea into a little homemade treat.
A Shortcut to Childhood Comfort
This recipe came together one chaotic afternoon when I needed a quick fix for a sweet craving but didn’t want to turn on the oven. I remembered how my grandma used to toss cereal with melted marshmallows for a quick treat, and I thought, why not make it bite-sized and portable? It’s become my go-to when I want something satisfying without the fuss, especially on busy mornings or when friends drop by unexpectedly. These bites feel like a little bit of nostalgia, with a bit of my own twist thrown in—simple, honest, and always a hit.
Brief History of No Bake Rice Krispie Bites
- These bites trace back to late 20th-century American snack culture, where quick, no-heat recipes gained popularity in busy households.
- Originally, they were a way to use up leftover marshmallows and cereal, turning simple pantry staples into a treat without oven time.
- The concept of no-bake cereal treats spread through community cookbooks and school bake sales, becoming a nostalgic staple for many.
- Innovations over the years included adding chocolate chips, peanut butter, or dried fruits, adapting the recipe to new tastes while keeping it simple.
Key Ingredients Breakdown
- Marshmallows: I love the gooey, sticky texture they bring, almost like a sweet cloud. If yours are stale, microwave briefly to soften before mixing.
- Butter: It adds richness and helps melt the marshmallows smoothly. Use room temp or melt it gently to avoid clumps, especially if your butter is cold.
- Rice Krispies: The crunch factor! Fresh cereal is crisp, but if it’s been open a while, give it a quick toast in the oven at 180°C (350°F) for a minute to revive that crackle.
- Optional add-ins: Chocolate chips or dried fruits can elevate the bites, but go easy—too many can make them sticky or hard to set. Vivid chocolate or fruity bursts peek through when biting.
- Extra flavoring: A pinch of vanilla or a splash of almond extract can deepen the sweetness. Be cautious—start small and taste before adding more.
- Cooking spray or oil: Lightly coat your hands or utensils to prevent sticking when shaping these bites, especially if your mixture feels sticky—resist overhandling for best texture.
- Cereal variations: Try different cereals like Cocoa Krispies or multigrain for varied textures, but keep in mind they may alter the sweetness and crunch.
Spotlight on key ingredients
Marshmallows:
- I love the gooey, sticky texture they bring, almost like a sweet cloud. If yours are stale, microwave briefly to soften before mixing.
- Butter: It adds richness and helps melt the marshmallows smoothly. Use room temp or melt it gently to avoid clumps, especially if your butter is cold.
- Rice Krispies: The crunch factor! Fresh cereal is crisp, but if it’s been open a while, give it a quick toast in the oven at 180°C (350°F) for a minute to revive that crackle.
Rice Krispies:
- They bring that satisfying crunch when fresh. Older cereal can lose its snap, so a quick toast at 180°C (350°F) helps restore crispness.
- Optional add-ins: Chocolate chips or dried fruits can elevate the bites, but go easy—too many can make them sticky or hard to set. Expect bursts of flavor with each bite.
Notes for ingredient swaps
- Dairy-Free: Swap butter for coconut oil or a neutral oil. Expect a slightly different richness and a softer set.
- Vegan Marshmallows: Use vegan marshmallows or agave syrup combined with coconut oil. Keep in mind, texture may be a bit stickier.
- Whole Grain Cereal: Replace Rice Krispies with multigrain or gluten-free cereals for more fiber and a different crunch.
- Sweetener Variations: Use honey or maple syrup instead of marshmallows for a more caramelized flavor, but reduce other sugars accordingly.
- Chocolate Boost: Add cocoa powder or chopped dark chocolate for a richer, more intense chocolate flavor—expect a slightly softer bite if using melted chocolate.
- Nut Add-ins: Incorporate chopped nuts like almonds or pecans for extra crunch and flavor. Toast nuts lightly beforehand for best aroma.
- Flavor Extracts: Mix in a splash of vanilla, almond, or coconut extract to deepen the sweetness or add aroma; use sparingly to avoid overpowering.
Equipment & Tools
- Large mixing bowl: To combine ingredients comfortably.
- Sturdy spatula: For folding cereal into melted marshmallows.
- Small saucepan: To melt butter and marshmallows gently.
- 8×8 inch baking dish: To shape and set the bites.
- Sharp knife: To cut the set mixture into bites.
Step-by-step guide to Rice Krispie Bites
- Gather your equipment: a large mixing bowl, a sturdy spatula, a small saucepan, and a baking dish (8×8 inch works).
- In the saucepan, melt 3 tablespoons of butter over low heat (about 120°C / 250°F). Stir occasionally until fully melted, about 2 minutes. Watch for a gentle shimmer and a faint nutty smell.
- Add 4 cups of marshmallows to the melted butter. Keep stirring until completely melted and smooth, about 3 minutes. The mixture should be glossy and oozy.
- Remove from heat. Quickly pour in 4.5 cups of Rice Krispies. Gently fold until evenly coated and cereal is well distributed—be careful not to crush the cereal.
- If adding extras like chocolate chips or dried fruit, fold them in now. Keep the mixture uniform but don’t overmix to maintain crunch.
- Transfer the mixture into the prepared baking dish. Use the spatula or lightly oiled hands to press it evenly into the pan. Aim for a compact, level surface.
- Let it rest at room temperature for at least 15-20 minutes, or until set. For quicker setting, refrigerate for about 10 minutes. The mixture should be firm but still pliable.
- Once set, cut into bite-sized squares or rectangles. Use a sharp knife, pressing down firmly but gently to avoid crumbling.
- Serve immediately or store for later. These bites are best enjoyed within 2 days for maximum crunch, but can be kept in an airtight container at room temp for up to 3 days.
Let the mixture rest at room temperature or in the fridge until firm. Cut into even squares, serve immediately or store in an airtight container for a couple of days.
How to Know It’s Done
- Marshmallow mixture is glossy and smooth before adding cereal.
- Cereal is evenly coated and mixture holds together when pressed.
- Bites are firm and set after resting, with clean cuts without crumbling.
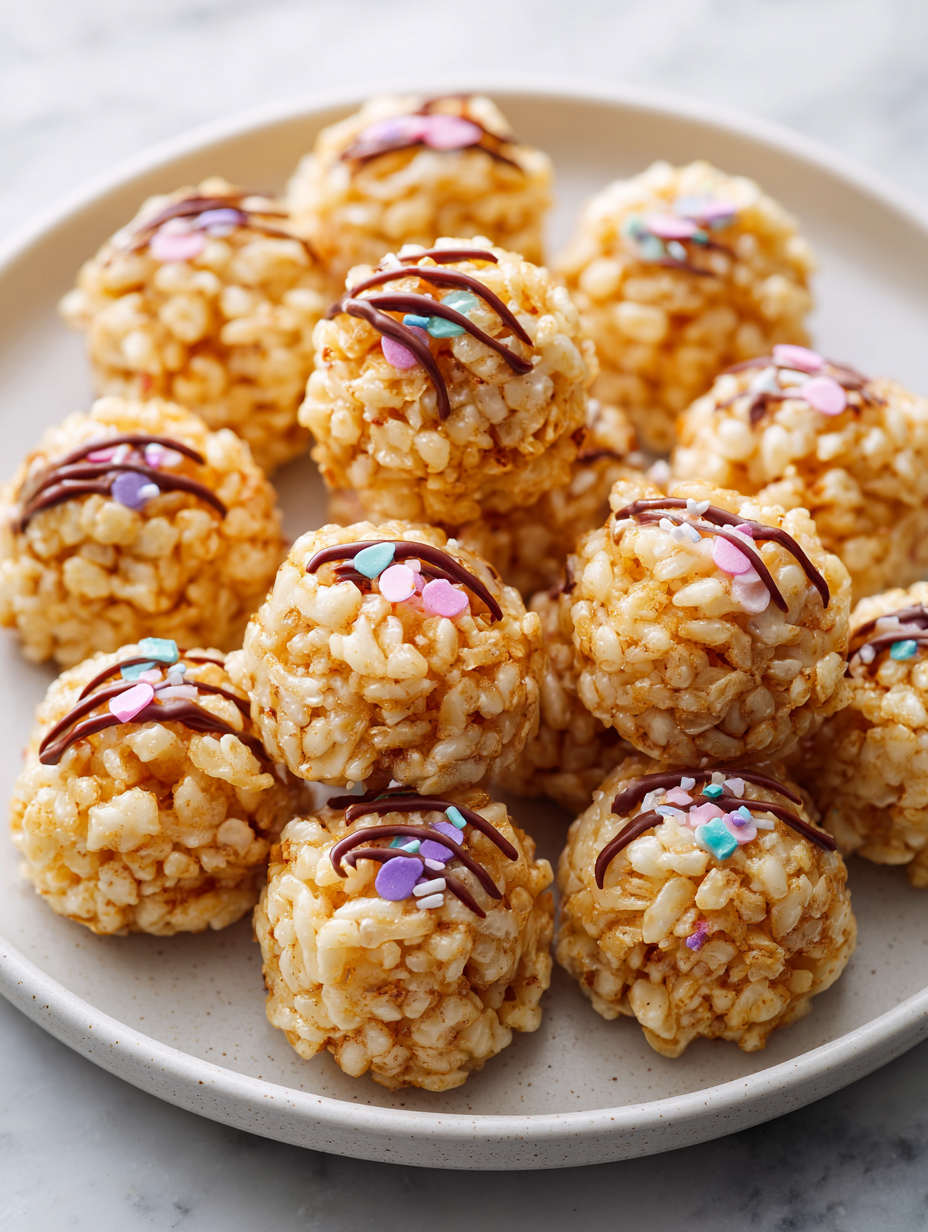
No Bake Rice Krispie Bites
Ingredients
Equipment
Method
- In a small saucepan over low heat, melt the butter gently, stirring until it shimmers and smells toasted, about 2 minutes.
- Add the marshmallows to the melted butter, stirring constantly until they are fully melted and the mixture is glossy and smooth, about 3 minutes.
- Remove the saucepan from heat and immediately pour in the Rice Krispies, folding gently with a spatula until all the cereal is evenly coated and the mixture is sticky and glossy.
- If desired, fold in chocolate chips or dried fruit now, distributing evenly throughout the mixture.
- Transfer the mixture into an 8x8 inch baking dish, pressing it down firmly with the back of a spatula or lightly oiled hands to create an even layer.
- Let the mixture sit at room temperature for 15-20 minutes or refrigerate for about 10 minutes until set and firm.
- Once set, use a sharp knife to cut into 12 even squares or rectangles, pressing down firmly for clean edges.
- Serve immediately, or store the bites in an airtight container at room temperature for up to 3 days for maximum crunch.
Pro tips for perfect bites
- Use slightly stale cereal for a softer, more tender bite—fresh cereal crunches best after a quick toast.
- Melt marshmallows slowly over low heat—this prevents burning and keeps the mixture glossy and smooth.
- Lightly coat your hands or spatula with oil—this stops the sticky mixture from clinging too much when pressing into the pan.
- Don’t overpack the mixture when pressing into the dish—firm but gentle pressure yields even bites with a tender center.
- Chill the set mixture in the fridge for 10 minutes for cleaner cuts—warm or room temp can make them crumbly.
- Add extras like chocolate or dried fruit just before pressing—this keeps them evenly distributed and prevents sinking.
- Use a sharp knife for cutting—press down firmly but smoothly to avoid squashing the bites and creating uneven edges.
Common mistakes and how to fix them
- FORGOT to measure ingredients precisely → Use a scale for accuracy.
- DUMPED the marshmallows too quickly → Add marshmallows gradually over low heat.
- OVER-TORCHED the butter → Melt slowly on low to prevent burning and bitterness.
- UNDERESTIMATED cooling time → Allow 15-20 minutes to set properly before cutting.
Quick Fixes and Pantry Swaps
- If marshmallows are stale, microwave briefly to soften before mixing.
- When mixture is too sticky, dampen hands slightly with water for easier shaping.
- Splash a little vanilla extract if mixture lacks flavor complexity.
- Patch over cracks by pressing the edges gently back into shape before chilling.
- Shield against over-melting by removing from heat as soon as marshmallows are mostly melted and glossy.
Prep, store, and reheat tips
- Prepare the mixture up to a day in advance; keep it covered in the fridge to maintain freshness. The marshmallow aroma will deepen overnight.
- Store the finished bites in an airtight container at room temperature for up to 3 days; the cereal stays crisp if kept sealed and dry.
- Refrigerate for longer storage—up to a week—but expect slight softening; serve chilled for a different texture, with a faint sweet aroma.
- To reheat, briefly microwave at medium power (about 20 seconds) until just warm and slightly softer, watching for a crackling sound and a sticky sheen.
- For best sensory results, avoid refrigerating beyond a week as flavors mellow and texture may become overly soft or stale.
Top questions about Rice Krispie Bites
1. Can I use stale marshmallows?
Use fresh marshmallows for maximum gooeyness and easier melting, which makes the bites stick together better.
2. What if my marshmallows are hard?
Yes, microwave slightly to soften them if they’re firm. It helps them melt evenly and keeps the mixture smooth.
3. My mixture is lumpy, what now?
Stir the mixture constantly over low heat until smooth. If it’s lumpy, you can briefly reheat or add a tiny splash of warm water.
4. How long should I refrigerate them?
Refrigerate for at least 10-15 minutes to help them set faster. They’ll firm up and be easier to cut cleanly.
5. How do I cut without squishing the bites?
Use a sharp knife and press down firmly. For sticky mixture, oil your knife or hands slightly for cleaner cuts.
6. Can I add other ingredients?
Yes, you can add chocolate chips, dried fruits, or nuts before pressing into the pan. Just don’t overload to keep them firm.
7. How should I store leftovers?
Keep the bites in an airtight container at room temp for up to 3 days. For longer storage, refrigerate for about a week.
8. Can I reheat these bites?
Reheat briefly in the microwave at medium power for 10-15 seconds until slightly soft. Watch for a crackling sound and shiny surface.
9. Are gluten-free options okay?
Using gluten-free cereal works perfectly. Just check that the cereal is certified gluten-free if needed.
10. Can I change the marshmallow amount?
Adjust the amount of marshmallows slightly if you want softer or firmer bites. More marshmallows = softer, less = firmer.
Making these no bake Rice Krispie Bites is a small act of rebellion against the chaos of daily life. They’re quick, honest, and remind me that sometimes simple pleasures are the best ones to hold onto. When I need a break from the oven, these bites come through every time, with their familiar crunch and sweet, gooey center.
In the end, it’s about those tiny moments of satisfaction—crisp, sticky, and just enough. No matter how busy or messy the day, these bites are a little reminder that good things don’t have to be complicated.

Hi, I’m Ruby Thorn, the home cook behind The Tender Mess. Join me on the journey of Embracing the mess, fearlessly create —because in the kitchen, the mess sometimes leads to magic.