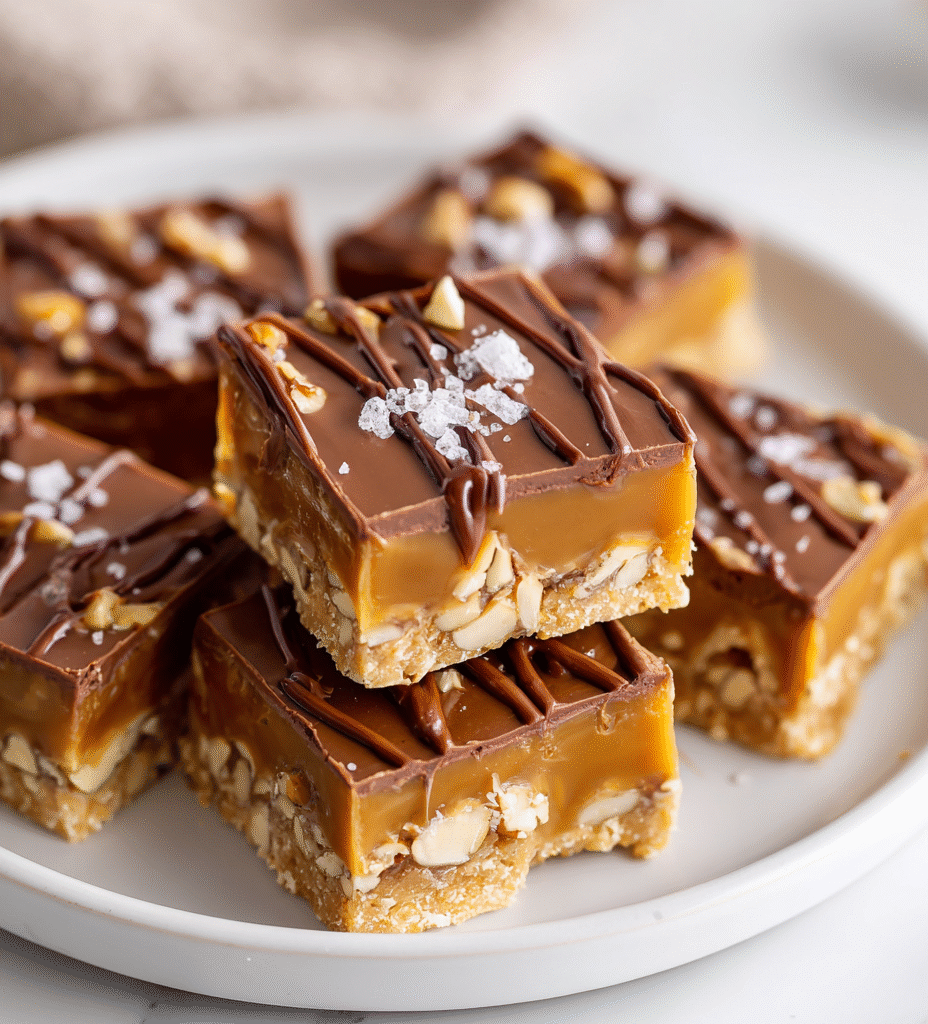

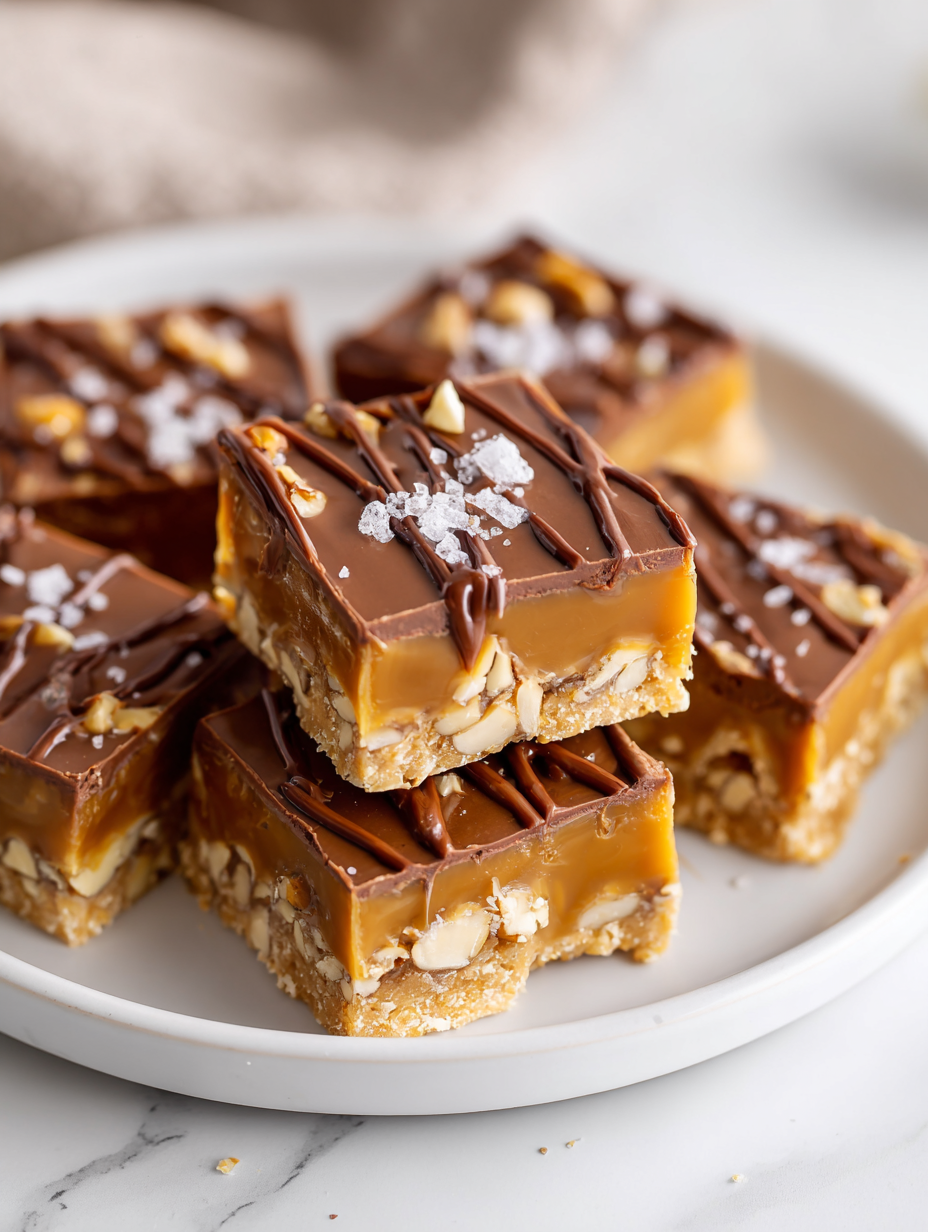
Sometimes, the best desserts are the ones you can throw together in a flash, especially when the craving hits hard. No Bake Caramel Bars are my go-to for those chaos-filled afternoons when oven space is at a premium or when I just can’t wait to indulge. They’re rich, sticky, and satisfy that sweet, salty, caramel itch without any fuss.
What I love most is how adaptable they are—no special equipment, no long waits. Just a handful of pantry staples and a little patience as they set up. It’s the kind of treat that sneaks into your week and makes everything feel a little more manageable, even with a busy schedule or unexpected guests. Pure, no-fuss comfort, right in your hands.
This recipe is inspired by the chaos of last-minute cravings and the beauty of simple pleasures, showing how a handful of pantry staples can turn into something rich, gooey, and utterly satisfying without turning on the oven.
The story behind this recipe
- This recipe came about on a lazy Sunday afternoon when I realized I had no time but craved something sweet and rich. I remember digging through my pantry, pulling out sticky caramel, buttery graham crackers, and some chocolate—so simple, yet I knew they’d come together fast. It’s funny how the best ideas often start from a bit of chaos, a sprinkle of improvisation, and a desire for something satisfying without the fuss.
- One day, I was rushing to get dinner on the table when friends unexpectedly stopped by. Instead of stressing over a fancy dessert, I threw together these bars in minutes. The smell of melting caramel and toasted graham filled the kitchen, and everyone’s eyes lit up. It’s become my go-to when I need something quick, sweet, and utterly craveable—proof that sometimes, the simplest treats are the most memorable.
- heading: The story behind this recipe
Key ingredients at a glance
- Sweetened condensed milk: I love how this gooey, rich ingredient acts as the glue for everything. If you want a lighter touch, try evaporated milk, but you’ll miss that thick, caramel-like richness.
- Graham cracker crumbs: I prefer finely crushed for that smooth, buttery base. For a bit more texture, leave some small chunks, but watch out for uneven bites when you’re spreading the caramel layer.
- Butter: I use unsalted to control salt levels, but salted butter adds a subtle savory note that balances the sweetness. Melt it gently—no smoky smell, just a warm, nutty aroma.
- Caramel sauce: I aim for a thick, sticky sauce with a deep amber hue. If yours is too runny, pop it in the fridge for a few minutes to thicken up before layering. Watch for a sizzling crackle when pouring.
- Chocolate chips: I like semi-sweet for a rich contrast, but dark or milk chocolate works beautifully too. Sprinkle generously while still warm so they melt into a glossy, inviting layer.
- Sea salt: Just a pinch enhances the caramel’s sweetness and gives a pleasant crunch. Use flaky sea salt for that satisfying sparkle and crunch in every bite.
- Vanilla extract: A splash brings out the depth of caramel and chocolate. If you don’t have vanilla, a hint of almond extract can add a lovely, nutty twist.
Spotlight on key ingredients
Caramel sauce: I aim for a thick, sticky sauce with a deep amber hue. If yours is too runny, pop it in the fridge for a few minutes to thicken up before layering. Watch for a sizzling crackle when pouring.:
- Sweetened condensed milk: I love how this gooey, rich ingredient acts as the glue for everything. If you want a lighter touch, try evaporated milk, but you’ll miss that thick, caramel-like richness.
- Graham cracker crumbs: I prefer finely crushed for that smooth, buttery base. For a bit more texture, leave some small chunks, but watch out for uneven bites when you’re spreading the caramel layer.
- Butter: I use unsalted to control salt levels, but salted butter adds a subtle savory note that balances the sweetness. Melt it gently—no smoky smell, just a warm, nutty aroma.
Notes for ingredient swaps
- Dairy-Free: Use coconut condensed milk or cashew cream instead of sweetened condensed milk. Expect a slightly different richness and texture.
- Gluten-Free: Swap graham crackers with crushed gluten-free digestives or graham cracker alternatives. Keeps the base crisp and buttery with a different flavor note.
- Vegan: Replace butter with vegan margarine or coconut oil. The texture remains tender, but the flavor may shift slightly towards coconut or plant-based notes.
- Sugar Variations: Use honey or maple syrup in place of caramel sauce for a different sweetness profile. Expect a more floral or earthy undertone.
- Chocolate: Try using dark chocolate or dairy-free chocolate chips. The melt will vary in intensity, but the overall look stays glossy and inviting.
- Salt: Use smoked sea salt for a deeper, smoky crunch that amplifies caramel flavor, or skip for a milder, sweeter finish.
- Add-ins: Mix in chopped nuts, dried fruit, or coconut flakes for extra texture and flavor contrast. Adjust quantity based on your taste.
Equipment & Tools
- 8×8 inch pan: Holds the bars as they set and makes slicing easy.
- Spatula: Spreads caramel and presses base evenly.
- Saucepan: Melts caramel and heats the condensed milk mixture gently.
- Mixing bowl: Crushes crackers and mixes ingredients if needed.
- Parchment paper: Prevents sticking and makes removal and cleanup easier.
- Sharp knife: Cuts the set bars cleanly.
Step-by-step guide to no bake caramel bars
- Gather your equipment: an 8×8 inch pan, a spatula, a saucepan, and a mixing bowl. The pan is for setting the bars, the saucepan for melting caramel, and the bowl for crushing crackers.
- Line the pan with parchment paper, leaving a slight overhang for easy removal later. This keeps cleanup quick and prevents sticking.
- Crush the graham crackers into fine crumbs. Use a food processor or zip-top bag and rolling pin. Aim for even, fine crumbs to form a smooth base.
- Melt the butter in the saucepan over low heat (about 90°C/194°F). Stir until fully melted and fragrant, about 2 minutes. Watch for a nutty aroma.
- Add the crushed graham crackers to the melted butter. Mix well until the crumbs are evenly coated and form a moist, crumbly mixture.
- Press this mixture evenly into the prepared pan using the back of a spatula or a flat-bottomed glass. Compact it firmly to form a solid base.
- In the saucepan, pour in the sweetened condensed milk and caramel sauce. Heat gently over low (about 80°C/176°F), stirring constantly until combined and warm—about 3 minutes.
- Pour the caramel mixture over the cracker base. Use a spatula to spread it evenly to the edges, ensuring a smooth, thick layer.
- Sprinkle semi-sweet chocolate chips evenly over the warm caramel. Let sit for 2-3 minutes until they begin to melt, then gently spread for a glossy finish.
- Sprinkle a pinch of flaky sea salt over the top for contrast and a touch of crunch. This elevates the overall flavor and prevents the bars from being overly sweet.
- Place the pan in the fridge for at least 3 hours, or until the caramel is set and firm. For best results, leave it overnight to fully develop flavors.
- Once set, lift the bars out using the parchment overhang. Cut into squares with a sharp knife, wiping between cuts for clean edges.
- Serve directly from the fridge or let sit at room temperature for 10 minutes for softer, more indulgent bites.
Once cut, serve immediately or store in the fridge. For best texture, let sit at room temperature for 10 minutes before eating. Keep leftovers in an airtight container in the fridge for up to a week.
How to Know It’s Done
- Caramel should be thick and glossy, not runny, when poured over the base.
- Chocolate chips should be partially melted and glossy, indicating proper heat and melting.
- The bars should hold their shape when cut, with a firm, chewy texture throughout.
No Bake Caramel Bars
Ingredients
Equipment
Method
- Line your 8x8 inch pan with parchment paper, leaving a slight overhang on the sides for easy removal later.
- Crush the graham crackers into fine crumbs using a food processor or by placing them in a zip-top bag and rolling over with a rolling pin.
- In a saucepan, melt the butter over low heat until it’s fragrant and just bubbling, about 2 minutes. This will fill your kitchen with a warm, nutty aroma.
- Add the crushed graham crackers to the melted butter and stir until evenly coated. The mixture should look moist and crumbly, ready to form the base.
- Press this crumb mixture firmly into the prepared pan using the back of a spatula or a flat-bottomed glass, creating an even, compact layer.
- In the same saucepan, gently warm the sweetened condensed milk and caramel sauce over low heat, stirring constantly until combined and warm, about 3 minutes. You’ll notice a slight bubbling and a sweet, caramel aroma.
- Pour the warm caramel mixture evenly over the graham cracker crust, then use a spatula to spread it out smoothly to the edges.
- Sprinkle the semi-sweet chocolate chips evenly over the warm caramel layer. Let sit for a few minutes until the chips start to melt, then gently spread for a glossy, rich chocolate top.
- Sprinkle a pinch of flaky sea salt over the chocolate to enhance the flavors and add a satisfying crunch in every bite.
- Place the pan in the fridge and chill for at least 3 hours, or overnight if possible, until the caramel is firm and set.
- Once set, lift the bars out using the parchment overhang and cut into squares with a sharp knife. Wipe the knife between cuts for clean edges.
- Serve immediately for soft, gooey bites, or keep refrigerated until ready to enjoy. For best texture, let sit at room temperature for 10 minutes before serving.
Notes
Pro tips for perfect bars
- Bolded Mini-Head: Use a silicone spatula to fold the caramel gently—this prevents sticking and keeps it smooth.
- Bolded Mini-Head: Chill the bars in the fridge for at least 3 hours—this helps the caramel set fully and cuts cleanly.
- Bolded Mini-Head: When melting chocolate chips, do it in short bursts at 50% power—avoid scorching by stirring frequently.
- Bolded Mini-Head: Crush crackers into fine crumbs for a smooth, even base—use a food processor or a zip-top bag with a rolling pin.
- Bolded Mini-Head: Sprinkle flaky sea salt immediately after spreading chocolate—this enhances flavor and adds a satisfying crunch.
- Bolded Mini-Head: For a richer caramel, warm the condensed milk and caramel sauce slowly—stir constantly and watch for bubbling.
- Bolded Mini-Head: If caramel is too runny, refrigerate the mixture for 10-15 minutes before pouring—this thickens it up for easier spreading.
Common mistakes and how to fix them
- FORGOT to watch caramel temperature → Use a candy thermometer to prevent burning.
- DUMPED in too much salt → Use a pinch of flaky sea salt for balanced flavor.
- OVER-TORCHED the chocolate → Remove from heat once glossy and melted, avoid scorching.
- MISSED chilling time → Chill at least 3 hours, patience helps set perfect texture.
Quick fixes and pantry swaps
- If caramel is too thick, warm it slightly to loosen its flow.
- When chocolate doesn’t melt smoothly, patch with gentle reheating and stirring.
- Splash a bit of milk if caramel sets too firm in the fridge—softens it just enough.
- DUMPED in too much salt? Rinse lightly or skip altogether on your next batch.
- When bars crack unevenly, shield edges with a warm, damp cloth before slicing.
Prep, store, and reheat tips
- You can prepare the caramel layer and crush the crackers a day ahead. Keep them covered in the fridge to prevent moisture absorption, which can make them soggy.
- Assemble and chill the bars for at least 3 hours, or overnight for best flavor development and firm texture. The caramel will become gooey and sticky, perfect for slicing.
- Store leftovers in an airtight container in the fridge for up to a week. The caramel may harden slightly, but will soften again at room temperature.
- Reheat slices briefly in the microwave (10-15 seconds) until just soft and warm, with a glossy, inviting sheen. Check for a gentle melt, not bubbling.
Top questions about caramel bars
1. Why are my caramel bars too soft or gooey?
The caramel tends to be gooey and sticky, making slicing tricky. Chill the bars well to firm them up before cutting.
2. How do I fix runny caramel?
Ensure the caramel sauce is thick and glossy before pouring. If it’s too runny, refrigerate it briefly to thicken.
3. How can I get clean slices?
Use a sharp knife dipped in hot water for clean cuts. Wipe the blade after each slice to keep edges neat.
4. How long do caramel bars last?
Store the bars in an airtight container in the fridge for up to a week. Let sit at room temp for 10 minutes before serving for softer bites.
5. How long should I chill the bars?
Chill the bars for at least 3 hours, preferably overnight. This allows the caramel to set and flavors to meld.
6. Can I make these gluten-free?
Replace graham crackers with gluten-free digestives or similar cookies for a gluten-free version. The texture remains crumbly and buttery.
7. Are there dairy-free options?
Use coconut condensed milk or cashew cream instead of dairy. Expect a slightly different richness and a subtle coconut flavor.
8. When should I add the salt?
Sprinkle flaky sea salt immediately after spreading the chocolate. It enhances flavor and adds a satisfying crunch.
9. How do I melt chocolate properly?
If the chocolate isn’t melting evenly, warm it in short bursts at 50% power, stirring frequently to avoid scorching.
10. What if my bars crack when I cut them?
If the caramel hardens or cracks when cutting, briefly warm the knife in hot water for smoother slices.
These no bake caramel bars are the kind of treat that sneaks into your week and makes everything feel a little more manageable. They’re simple, rich, and satisfy that sweet, salty craving without any fuss—perfect for when time’s tight or you need a little reminder that good things don’t always need to be complicated.
Once you’ve got the hang of it, they become a go-to for last-minute gatherings or those afternoons when you just need something sweet and sticky to hold onto. No matter how many times I make them, I’m always surprised by how quick and utterly satisfying they are. Sometimes, the simplest recipes really are the best.

Hi, I’m Ruby Thorn, the home cook behind The Tender Mess. Join me on the journey of Embracing the mess, fearlessly create —because in the kitchen, the mess sometimes leads to magic.