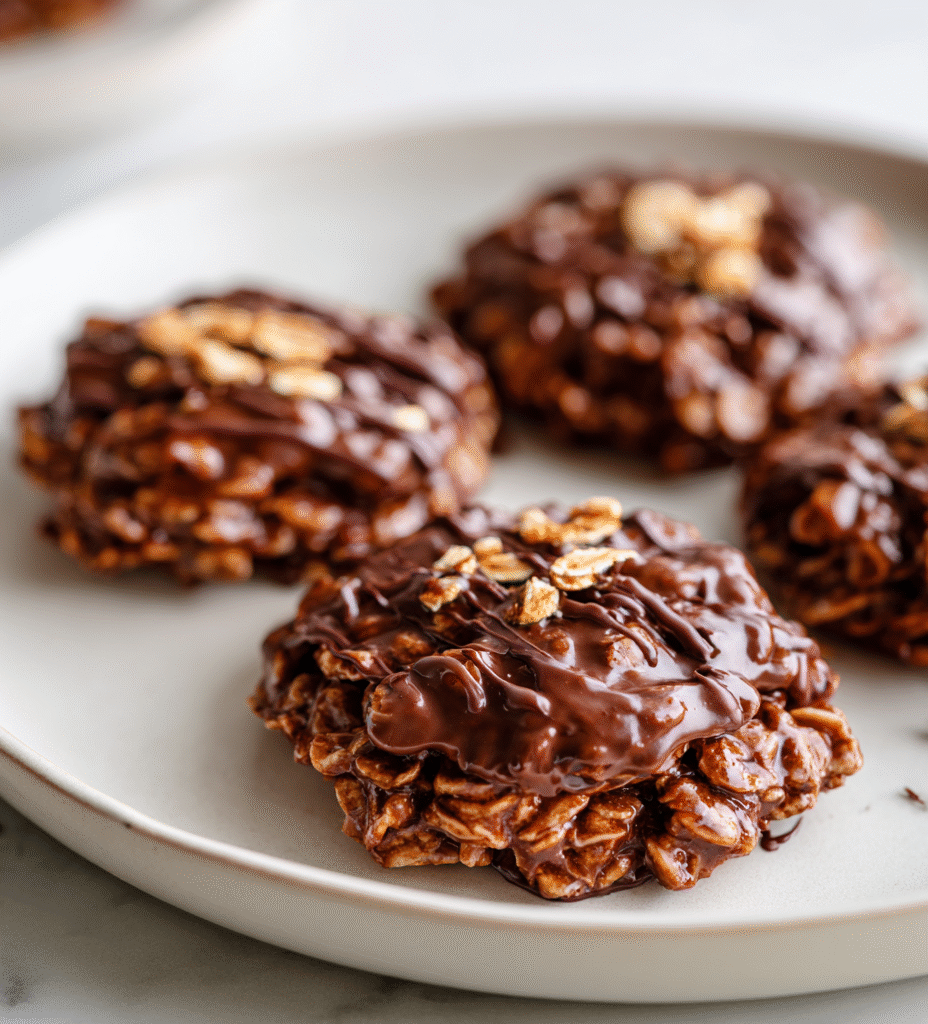
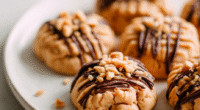
These no bake chocolate oat cookies are like a little rebellion in the kitchen. No stovetop fuss, just a quick mix and chill, perfect for when I need something sweet without the fuss. They’re my go-to for a lazy afternoon or when friends drop by unexpectedly, and I want to serve something homemade fast.
What I love most is how forgiving they are—no fancy ingredients or precise timing, just honest, simple pantry staples coming together in a chewy, chocolatey rush. Sometimes I toss in a handful of nuts or a pinch of sea salt, but honestly, they’re good enough as is, a little messy and totally satisfying.
Making these cookies feels like a small act of rebellion against the fussiness of baking. It’s a reminder that sometimes, the simplest things—oats, chocolate, a little sugar—are enough to create something memorable. They’re a bit nostalgic, a little chaotic, and always a welcome treat in my kitchen.
This recipe is my secret weapon for calming chaos in the kitchen. When life feels overwhelming, I turn to these cookies—simple, no fuss, yet deeply satisfying. They’re my quick fix for a moment of peace, a reminder that sometimes, the best comfort comes from something you can whip up with minimal effort but maximum flavor.
A Sweet Escape in Minutes
- These cookies remind me of childhood afternoons—simple ingredients, big flavors, and no need for oven time.
- Whenever I need a quick, comforting treat, these are my go-to — chaos or calm, they come together effortlessly.
- There’s a nostalgic thrill in mixing everything in a single bowl and watching it set—no fuss, just pure joy.
- Sharing these cookies with friends feels like passing along a secret—something sweet and honest, no pretense necessary.
- Sometimes I add a pinch of sea salt or a splash of vanilla just to shake things up—small tweaks that make a big difference.
A Quick Chocolate Fix
- This recipe was born out of a busy afternoon when I needed something sweet and quick but didn’t want to turn on the oven. I remember rummaging through the pantry, grabbing what I had—oats, cocoa, a bit of honey—and just tossing everything together. That spontaneous mixing turned into a treat I keep coming back to, especially when time’s tight and I crave that chocolatey crunch.
- There’s something satisfying about the no-fuss approach—just a few ingredients, a quick stir, and then patience while they set. These cookies don’t demand delicate technique or special equipment, just honest, pantry-friendly goodness. They remind me that sometimes, simple is the best—no oven, no mess, just pure, chewy chocolate comfort.
- heading: ‘The story behind this recipe’
Historical Tidbits
- These cookies likely originated during wartime rationing, where quick, minimal-ingredient treats became popular.
- They became a household staple in the 1950s, especially in America, as a simple way to satisfy sweet cravings without oven use.
- The no-bake approach was a clever workaround in kitchens lacking reliable ovens or during hot summer months when turning on the stove was uncomfortable.
Ingredient breakdown: key components
- Old-fashioned rolled oats: I love their chewy bite, but if you want a softer texture, try quick oats instead—just watch out, they can become mushy if overmixed.
- Unsweetened cocoa powder: It’s the backbone of that deep chocolate flavor; opt for Dutch-processed if you prefer a smoother, less bitter profile—natural cocoa is more pungent and bright.
- Honey or maple syrup: I prefer honey for that rich, floral sweetness that complements the cocoa’s bitterness—maple adds a smoky note, so choose based on your flavor mood.
- Butter or coconut oil: Butter gives a richer, creamier cookie, but coconut oil makes these vegan-friendly and adds a subtle tropical aroma—warm until melted, then stir in.
- Chocolate chips: I toss in semi-sweet chips for melty pockets, but dark or milk chocolate works too—just add at the end and fold gently to avoid melting them completely.
- Vanilla extract: It brightens everything up. A splash (about a teaspoon) is enough—skip if you want to keep it super simple, but it really rounds out the flavor.
- Optional add-ins: Nuts, seeds, or dried fruit—these add crunch and interest. I usually toss in a handful of chopped walnuts or dried cranberries for contrast.
Spotlight on key ingredients
Cocoa Powder:
- Old-fashioned rolled oats: I love their chewy bite, but if you want a softer texture, try quick oats instead—just watch out, they can become mushy if overmixed.
- Unsweetened cocoa powder: It’s the backbone of that deep chocolate flavor; opt for Dutch-processed if you prefer a smoother, less bitter profile—natural cocoa is more pungent and bright.
Sweeteners & Fats:
- Honey or maple syrup: I prefer honey for that rich, floral sweetness that complements the cocoa’s bitterness—maple adds a smoky note, so choose based on your flavor mood.
- Butter or coconut oil: Butter gives a richer, creamier cookie, but coconut oil makes these vegan-friendly and adds a subtle tropical aroma—warm until melted, then stir in.
Notes for ingredient swaps
- Dairy-Free: Swap butter for coconut oil. The cookies will be slightly more tropical and less rich, but just as chewy.
- Sweetener Choices: Use agave syrup or brown rice syrup instead of honey. They add different flavor nuances and may alter the chewiness slightly.
- Chocolate Variations: Dark chocolate chips for a more intense cocoa flavor, or milk chocolate for a sweeter, creamier bite.
- Oats: Quick oats can be used in place of rolled oats for a softer texture, but they might become mushier if overmixed.
- Add-ins: Nuts, dried fruits, or seeds can be customized; walnuts add crunch, dried cranberries add tartness, and shredded coconut introduces chewiness.
- Cocoa Powder: Dutch-processed for a smoother, less bitter chocolate flavor, or natural cocoa for a brighter, more pungent note.
- Sweetening Enhancements: A pinch of sea salt or a dash of vanilla extract can heighten the overall flavor, depending on your preference.
Equipment & Tools
- medium saucepan: melts butter and combines ingredients evenly
- mixing bowl: holds oats and chocolate mixture for folding
- spoon or small scoop: doles out and shapes cookies
- parchment paper: prevents sticking and makes for easy cleanup
Step-by-step guide to no bake cookies
- Gather equipment: a medium saucepan, a mixing bowl, a spoon, and parchment paper. The saucepan will melt the ingredients, the bowl for mixing, and the paper for setting the cookies.
- Measure out 1 cup of rolled oats, 1/2 cup of unsweetened cocoa powder, 1/2 cup honey, 1/4 cup butter, and 1 teaspoon vanilla extract. Have chocolate chips handy if adding later.
- In the saucepan, melt the butter over medium heat (~150°C / 300°F). Watch for a gentle crackle and a slight shimmer—no browning, just melted and fragrant.
- Add honey to the melted butter. Stir until fully integrated and the mixture is smooth, about 1-2 minutes. It should smell sweet and chocolatey.
- Stir in the cocoa powder. Mix vigorously until the mixture is glossy and uniform, about 1 minute. It should turn deep, rich brown and smell intensely chocolaty.
- Remove from heat and add vanilla extract. Mix well. If you’re using nuts or dried fruit, fold them in now for extra texture.
- Pour the oats into the chocolate mixture. Fold together until all oats are coated and the mixture is thick and sticky, about 30 seconds. The oats should look glossy and slightly sticky.
- Using a spoon or small scoop, drop dollops onto parchment paper. Flatten slightly if you prefer a more uniform shape. Leave space between each cookie.
- Let the cookies rest at room temperature for 15 minutes, then transfer to the fridge. Chill for at least 30 minutes until firm and set.
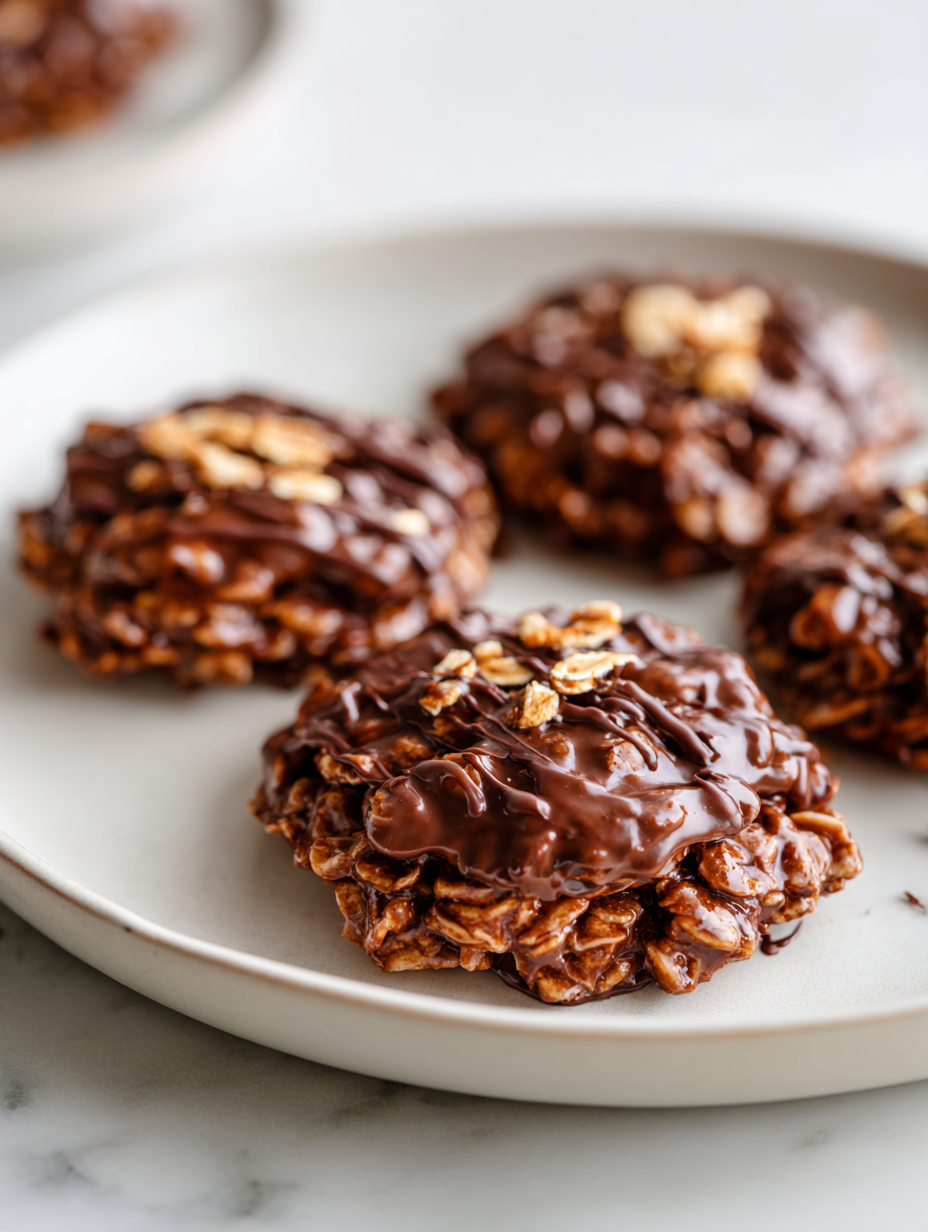
- Once set, the cookies should be chewy, with a shiny surface and a firm yet tender bite. They crack gently when bitten, with a deep chocolate aroma.
Let the cookies rest at room temp for 15 minutes, then chill in the fridge for 30 minutes. Serve once firm and set, with a slight shine and crackle.
How to Know It’s Done
- Chocolate mixture is glossy and smooth before adding oats.
- Cookies are firm but chewy after chilling, not crumbly or too soft.
- Surface is shiny and slightly crackled, indicating proper setting.
No Bake Chocolate Oat Cookies
Ingredients
Equipment
Method
- Start by melting the butter or coconut oil in a medium saucepan over medium heat until just warm and fragrant, about 1-2 minutes.
- Add the honey and stir until fully blended with the melted butter, creating a glossy, fragrant mixture.
- Whisk in the cocoa powder until the mixture is smooth, glossy, and deep brown, about 1 minute.
- Remove the saucepan from heat and stir in the vanilla extract for an added flavor boost.
- Pour in the oats and fold gently until they are evenly coated with the chocolate mixture, creating a thick, sticky dough.
- Add the chocolate chips and fold them into the mixture, distributing melty pockets throughout.
- Using a spoon or small scoop, portion out the mixture onto parchment-lined trays, pressing down slightly to form cookies.
- Let the cookies sit at room temperature for 15 minutes, then transfer to the fridge to chill for at least 30 minutes until firm and shiny.
- Once chilled and set, the cookies will have a glossy surface, crack slightly when bitten, and offer a chewy, chocolatey bite.
Pro tips for perfect no bake cookies
- Bolded mini-head: Use high-quality cocoa powder for a richer, more intense chocolate flavor—cheap cocoa can make the cookies flat and dull.
- Bolded mini-head: Melt butter gently over low heat—avoid overheating to prevent the mixture from separating or burning, which adds a smoky taste.
- Bolded mini-head: When mixing oats into the chocolate, fold gently—overmixing can make the cookies dense instead of chewy and tender.
- Bolded mini-head: Chill the cookie mixture briefly before scooping—this helps prevent sticking and makes shaping easier, especially in warm kitchens.
- Bolded mini-head: Flatten cookies slightly on the tray—pressing them down helps them set evenly and creates a more uniform chewiness.
- Bolded mini-head: Watch the mixture as it melts—look for a glossy, smooth appearance; if it starts to seize, remove from heat immediately to prevent graininess.
- Bolded mini-head: Store cookies in an airtight container at room temp—keeps them chewy and prevents them from drying out, especially in humid weather.
Common mistakes and how to fix them
- FORGOT to stir mixture thoroughly → Mix until glossy and uniform before setting.
- DUMPED too much salt → Keep salt minimal, as cookies are sweet and rich without it.
- OVER-TORCHED the chocolate → Remove from heat once mixture is fragrant and just melted; avoid browning.
- FAILED to chill long enough → Chill at least 30 minutes for proper firmness and chewiness.
Quick Fixes and Pantry Swaps
- When mixture is too thick, splash in a teaspoon of hot water to loosen.
- If cookies stick, patch with a tiny dab of warm honey or melted chocolate.
- Splash a little vanilla or sea salt if flavor feels dull or flat.
- When chocolate seizes, immediately remove from heat and stir in a splash of milk to rescue.
- Patch cracked cookies with a drizzle of melted chocolate for a polished look.
Prep, store, and reheat tips
- Preparing the chocolate mixture ahead: Melt butter and mix with cocoa and honey up to a day in advance. Store covered in the fridge; it will firm up slightly but re-melts easily when stirred.
- Assembling and shaping: You can portion out the cookies and keep them on a tray covered with plastic wrap for up to 2 hours before chilling, which helps maintain their shape.
- Shelf life: Store the finished cookies in an airtight container at room temperature for up to 3 days. For longer storage, refrigerate for up to a week, where they become chewier and the flavors meld.
- Reheating and serving: If cookies become too firm, let them sit at room temp for 10-15 minutes or gently warm in the microwave for a few seconds until soft and fragrant, with a slight crackle when bitten.
Top questions about no bake cookies
1. Can I use quick oats instead of rolled oats?
Use quick oats if you want a softer, more crumbly cookie. Old-fashioned oats give a chewier bite.
2. Can I add chocolate chips after melting the chocolate?
Yes, melting chocolate chips directly into the mixture works well. Just fold them in at the end for melty pockets.
3. How long do I need to chill these cookies?
Chill the cookies for at least 30 minutes, or until they’re firm and set. They should crackle slightly when you bite into them.
4. My mixture is too stiff—what do I do?
If the mixture is too thick to scoop, add a tiny splash of hot water and stir until loosened.
5. How should I store these cookies?
Store in an airtight container at room temp for up to 3 days, or refrigerate for up to a week for extra chew.
6. They’re too hard—how can I soften them?
If they become too firm, let them sit at room temperature for 10 minutes or warm briefly in the microwave for a softer bite.
7. Can I substitute different types of cocoa powder?
Use natural or Dutch-processed cocoa based on your flavor preference. Natural cocoa is brighter; Dutch-processed is smoother.
8. Can I make these vegan?
For a vegan version, swap butter for coconut oil. It will add a slight tropical aroma but keep the chewy texture.
9. Should I add extra flavorings?
Adding a pinch of sea salt or vanilla enhances flavor, but skip if you want a plain, straightforward chocolate taste.
10. How do I shape the cookies?
Use a small scoop or spoon to portion out the cookies, then flatten slightly for even setting and chewiness.
These cookies are my little act of rebellion—no oven, no fuss, just honest ingredients coming together in a chewy, chocolatey rush. They remind me that sometimes, the simplest things—oats, chocolate, a little sugar—are enough to create something memorable.
Sharing these with friends feels like passing along a secret—something sweet and honest, no pretense necessary. They’re a quick, satisfying fix for when chaos or calm calls for a little chocolatey comfort, straight from the pantry.

Hi, I’m Ruby Thorn, the home cook behind The Tender Mess. Join me on the journey of Embracing the mess, fearlessly create —because in the kitchen, the mess sometimes leads to magic.