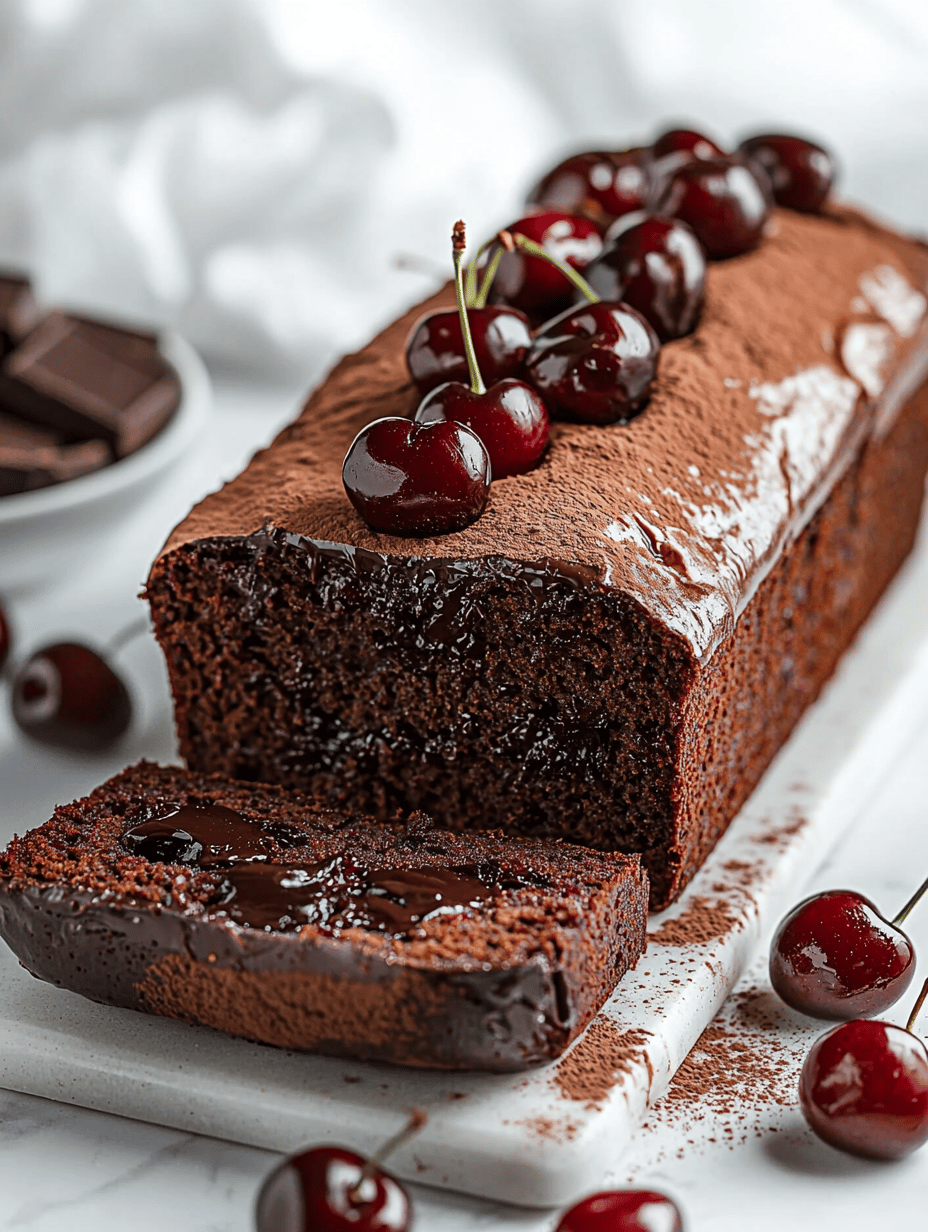

Late at night, I find myself craving something sweet and rich, but I don’t want to deal with melting chocolate or messy cleanup. That’s where these no-bake chocolate bars come in—they’re my go-to for instant gratification without the fuss. The best part? They come together fast, and I can tweak them with whatever I have in the pantry.
There’s a nostalgic charm in these bars, reminding me of childhood treats but with a grown-up twist. I love how simple ingredients like cocoa, butter, and oats transform into something decadent and satisfying, especially when I need a quick fix after a long day. They’re the kind of dessert that feels indulgent but is honestly easy enough to make on a whim.
This recipe is inspired by my late-night snack cravings, turning a simple treat into a nostalgic comfort that’s quick, satisfying, and perfect for when I need something sweet without the fuss.
The story behind this recipe
- This recipe takes me back to lazy summer afternoons at my grandma’s house. She’d always have a batch of these tucked away, and I’d sneak bites when no one was looking. Now, I keep the tradition alive, especially when I need something quick and satisfying. It’s funny how a simple combination of ingredients can bring so much comfort.
- I remember experimenting one evening, trying to skip the baking part — and these bars just clicked. They’re messy in the best way, with melting chocolate and oats that stick to your fingers. I love how adaptable they are, letting me use whatever nuts or dried fruit I have on hand. It’s a little bit of chaos turned into something sweet and reliable.
- heading: The story behind this recipe
Ingredient breakdown: key components
- Unsweetened cocoa powder: I love that deep, slightly bitter aroma it releases when I sift it into the mixture—if yours clumps, sift it again for smoothness, or you’ll get gritty bites.
- Butter: I prefer using salted butter for a richer flavor, but if you want to cut salt, go for unsalted and add a pinch of sea salt at the end to enhance that chocolatey punch.
- Honey or maple syrup: The sticky sweetness really ties it all together—if you’re after a less sweet bar, reduce the syrup slightly, but don’t omit it; that chewiness relies on it.
- Oats: Old-fashioned rolled oats give a satisfying chew and texture—if you’re gluten-free, swap in certified gluten-free oats, but expect a slightly different bite.
- Nuts or dried fruit (optional): I toss in chopped almonds or dried cranberries for crunch and bursts of flavor—feel free to adapt with what’s in your pantry, but toast the nuts lightly first for extra aroma.
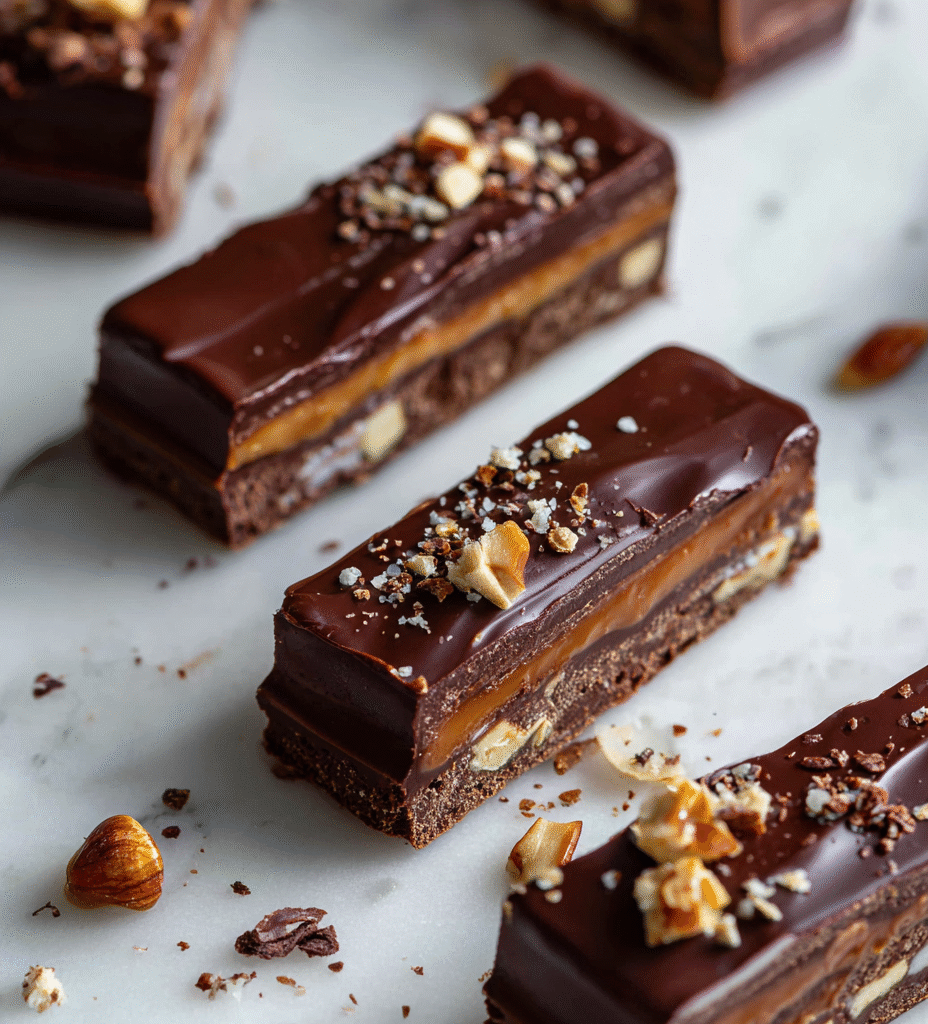
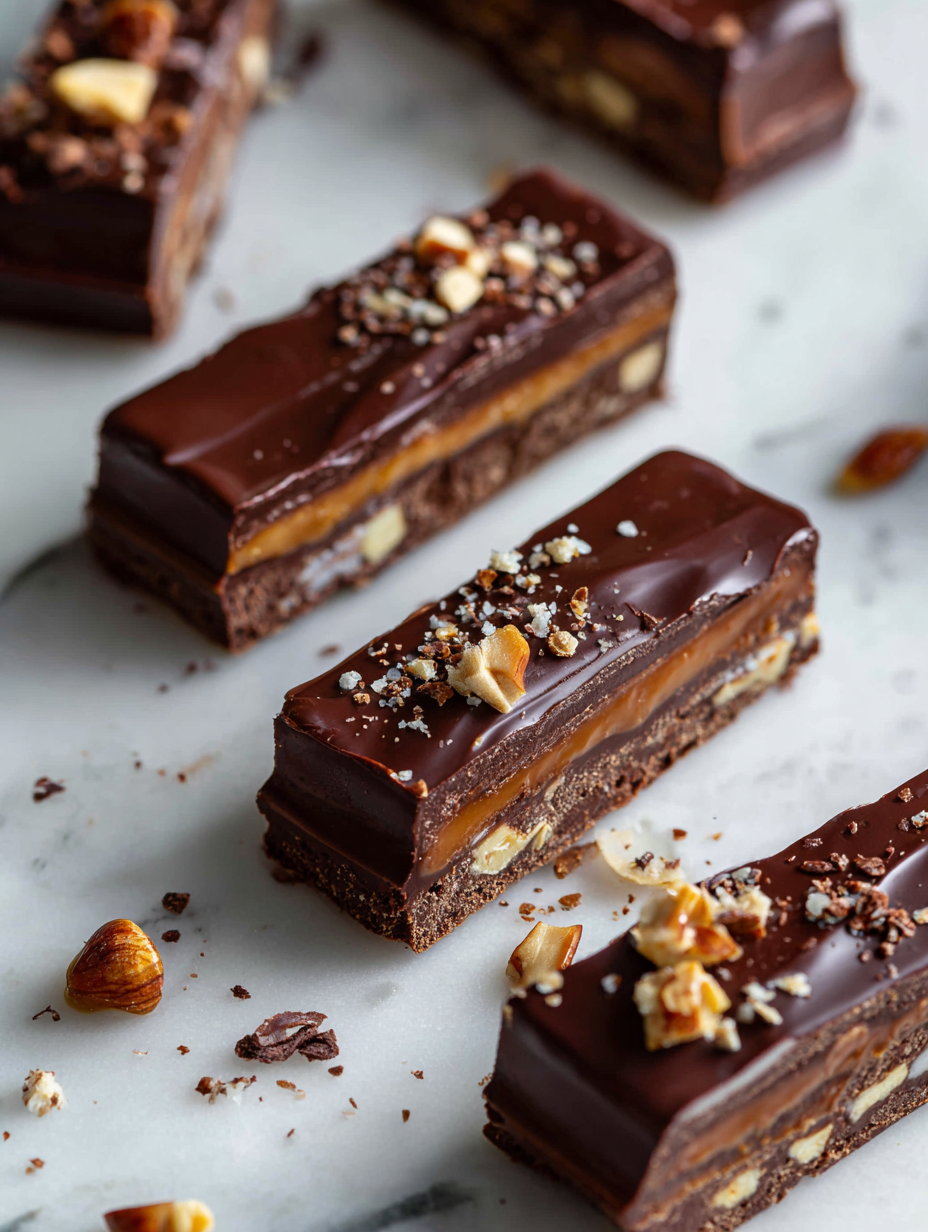
- Chocolate chips (optional): I add a handful of dark chocolate chips on top before chilling; they melt slightly into the surface, adding a glossy, decadent finish—skip if you prefer a matte look or use chunks for more texture.
Spotlight on key ingredients
Unsweetened cocoa powder:
- I love that deep, slightly bitter aroma it releases when I sift it into the mixture—if yours clumps, sift it again for smoothness, or you’ll get gritty bites.
- Butter: I prefer using salted butter for a richer flavor, but if you want to cut salt, go for unsalted and add a pinch of sea salt at the end to enhance that chocolatey punch.
Oats:
- Honey or maple syrup: The sticky sweetness really ties it all together—if you’re after a less sweet bar, reduce the syrup slightly, but don’t omit it; that chewiness relies on it.
- Old-fashioned rolled oats give a satisfying chew and texture—if you’re gluten-free, swap in certified gluten-free oats, but expect a slightly different bite.
Notes for ingredient swaps
- Dairy-Free: Use coconut oil instead of butter for a rich, slightly coconutty flavor that’s dairy-free but still decadent.
- Sweetener Swap: Maple syrup can replace honey for a slightly more caramelized taste, or use agave for a neutral sweetness.
- Nut-Free: Sunflower or pumpkin seeds work well if you need a nut-free version, adding crunch without the allergen.
- Vegan: Replace butter with coconut oil or vegan butter; ensure your chocolate chips are also vegan for a completely plant-based bar.
- Chocolate: Use cacao nibs or dark chocolate chunks if you want a less sweet, more intense cocoa punch, or white chocolate for a different vibe.
- Oats: Gluten-free oats are a must for celiac-friendly bars, but expect a slightly different texture—more crumbly than chewy.
Equipment & Tools
- Square baking dish: Holds the mixture and helps form the bars.
- Mixing bowl: Combine ingredients smoothly.
- Spatula: Press mixture into the dish evenly.
- Microwave-safe bowl: Melt butter, honey, and chocolate safely.
- Parchment paper: Line dish for easy removal and cleanup.
- Knife: Cut into bars cleanly.
Step-by-step guide to no bake chocolate bars
- Gather your equipment: a square baking dish (20x20cm or 8x8in), a mixing bowl, a spatula, and a microwave-safe bowl for melting chocolate.
- Line the baking dish with parchment paper, leaving some overhang for easy removal later.
- In the microwave-safe bowl, melt the butter and honey together in 30-second bursts, stirring each time until smooth and warm but not hot (about 45°C/113°F).
- Add the cocoa powder to the melted mixture, stirring until fully combined and smooth. The smell should be rich and chocolatey.
- Stir in the oats, nuts, and dried fruit if using. Mix until everything is evenly coated and resembles a thick, sticky dough. It should be slightly glossy.
- Pour the mixture into the prepared dish. Use the spatula to press it down evenly and compact it—this helps with the texture and neatness.
- Chop the chocolate into small chunks or use chips, then scatter on top of the mixture. Gently press them into the surface for a shiny finish.
- Place the dish in the fridge and let it set for at least 2 hours, or until firm. You can leave it overnight for best results.
- Once set, lift the block out using the parchment overhang. Use a sharp knife to cut into bars or squares. Clean the knife between cuts for smooth edges.
- Serve immediately or store in an airtight container in the fridge for up to a week. For softer bars, let sit at room temperature for 10 minutes before serving.
Chill the bars in the fridge for at least 2 hours until firm. Then, lift out using the parchment paper and cut into squares. Serve immediately or store in an airtight container in the fridge for up to a week. Let sit at room temperature for 10 minutes before serving if you prefer softer bars.
How to Know It’s Done
- Chocolate melts into a glossy, smooth mixture without lumps.
- Bars are firm and hold shape when pressed lightly.
- Chocolate chips or chunks are slightly melted and shiny on top.
No-Bake Chocolate Bars
Ingredients
Equipment
Method
- Line your square baking dish with parchment paper, leaving some overhang for easy removal later.
- In a microwave-safe bowl, melt the butter and honey together in short bursts of 30 seconds, stirring between each until the mixture is smooth and warm, about 45°C (113°F).
- Add the sifted cocoa powder to the melted mixture and stir until fully combined, releasing a rich chocolate aroma.
- Pour in the oats, and if using, add chopped nuts or dried fruit. Mix everything together until the oats are evenly coated and the mixture is thick and sticky.
- Transfer the mixture into the prepared dish. Use a spatula to press it down firmly and evenly, creating a compact, uniform layer.
- Scatter the chocolate chips or chunks over the top, pressing them gently into the surface so they melt slightly and create a glossy finish.
- Place the dish in the fridge and chill for at least 2 hours, or until the bars are firm and set.
- Once chilled, lift the set mixture out using the parchment overhang and place on a cutting board. Use a sharp knife to cut into bars or squares.
- Serve immediately for a fudgy, chewy treat, or store in an airtight container in the fridge for up to a week.
Pro tips for perfect bars
- Use fresh, high-quality cocoa powder for a rich, chocolatey aroma that really wakes up the bars.
- Melt butter and honey slowly in short bursts to prevent burning and keep the mixture smooth and glossy.
- Press the mixture firmly into the pan to eliminate air pockets—this helps achieve that perfect, dense texture.
- Scatter chocolate chunks on top and press gently to ensure they melt slightly into the surface, creating a shiny finish.
- Chill until fully set—about 2 hours—so the bars hold their shape when cut without crumbling.
- Use a sharp knife dipped in hot water before slicing—this makes clean, neat edges without tearing.
Common mistakes and how to fix them
- FORGOT to temper chocolate → Melt slowly over low heat to prevent seizing.
- DUMPED wrong ingredients → Measure precisely for consistent texture and flavor.
- OVER-TORCHED chocolate → Remove from heat immediately if it starts to smell burnt.
- SKIPPED chilling → Chill at least 2 hours for bars to set properly and cut cleanly.
Quick Fixes and Pantry Swaps
- When chocolate seizes, splash in a teaspoon of vegetable oil to smooth it out.
- If mixture is crumbly, dump in a splash of warm milk or water to loosen it.
- Over-torched chocolate? Patch with a teaspoon of coconut oil for glossy finish.
- Forgot to press down mixture? Shield with a damp cloth and wait 10 minutes.
- When bars stick to the knife, open with a hot, damp blade for clean cuts.
Prep, store, and reheat tips
- Prepare the mixture ahead of time and keep it refrigerated in an airtight container; the flavors meld and deepen overnight, creating a richer chocolate experience.
- Store the assembled but uncut bars in the fridge for up to a week; the cool temperature keeps them firm and prevents melting or spoilage.
- For longer storage, freeze the bars wrapped tightly in plastic wrap and in a sealed container; they can last up to a month and are best enjoyed slightly thawed for optimal texture.
- Reheat slices briefly at room temperature for 5-10 minutes before serving, until they soften slightly and the aroma of cocoa becomes more pronounced. Be mindful not to warm too much to avoid melting the chocolate surface.
Top questions about no bake chocolate bars
1. How do I melt butter without burning it?
Use softened butter and microwave in short bursts to prevent burning, stirring often for smooth melting.
2. Can I use a different sweetener than honey?
Yes, you can swap honey with maple syrup or agave; they all add sticky sweetness and help bind the bars.
3. How long should I chill the bars?
Chill the mixture for at least 2 hours until firm. The bars should be solid, shiny, and easy to cut.
4. Can I add more or less cocoa powder?
Adjust the cocoa to taste; more cocoa makes it richer and more intense, less makes it milder and sweeter.
5. Can I use gluten-free oats?
Yes, substitute oats with gluten-free oats if needed; expect a slightly different texture but still delicious.
6. Can I add toppings or mix-ins?
Yes, you can add nuts, dried fruit, or chocolate chips on top before chilling for extra flavor and texture.
7. How should I store these bars?
Store bars in an airtight container in the fridge for up to a week or freeze for longer storage.
8. What if my chocolate seizes while melting?
If chocolate seizes, add a teaspoon of vegetable oil and stir until smooth to restore gloss and texture.
9. How do I get clean cuts through the bars?
Use a hot, damp knife to cut the bars for clean edges, especially if they have set firmly in the fridge.
10. My mixture is crumbly, what do I do?
When the mixture feels too crumbly, add a splash of warm water or milk to loosen it and make it easier to press into the pan.
These no-bake chocolate bars are a reminder that sometimes, simplicity wins. They’re perfect for satisfying that quick sweet craving without overwhelming your kitchen or your schedule. Plus, they hold that nostalgic charm that keeps bringing me back to them, especially during busy weeks or when I need a little comfort.
In the end, it’s all about those small moments—cracking through a chilled bar or catching the aroma of melting chocolate—that make this recipe special. No matter how often I make them, they still feel like a tiny, sweet victory. And honestly, that’s enough to keep me coming back for more.

Hi, I’m Ruby Thorn, the home cook behind The Tender Mess. Join me on the journey of Embracing the mess, fearlessly create —because in the kitchen, the mess sometimes leads to magic.